
Getting started
Quickstart: add SuperPlane Factory to your project
Get your SuperPlane workspace ready and bring your first repository into the software factory in under 5 minutes.Use this guide to create a SuperPlane workspace, connect a GitHub repository and open your first software factory board.
Prerequisites
Section titled “Prerequisites”For the smoothest first run have the following ready:
- A SuperPlane account.
- Access to a GitHub repository that you are comfortable connecting.
- Permission to install or authorize the GitHub integration for that repository.
- A repository with a few open issues for SuperPlane to analyze.
- A normal development setup with existing tests or continuous integration (CI) checks.
Save large architectural changes and work that needs product decisions until you have completed your first factory run.
Good first tasks
- Fix a small bug
- Update documentation
- Fix a failing test
- Update a dependency
- Make a small code improvement
Save for later
- Redesign the entire architecture
- Build a large open ended feature
- Complete a task that needs major product decisions
1. Create a SuperPlane account
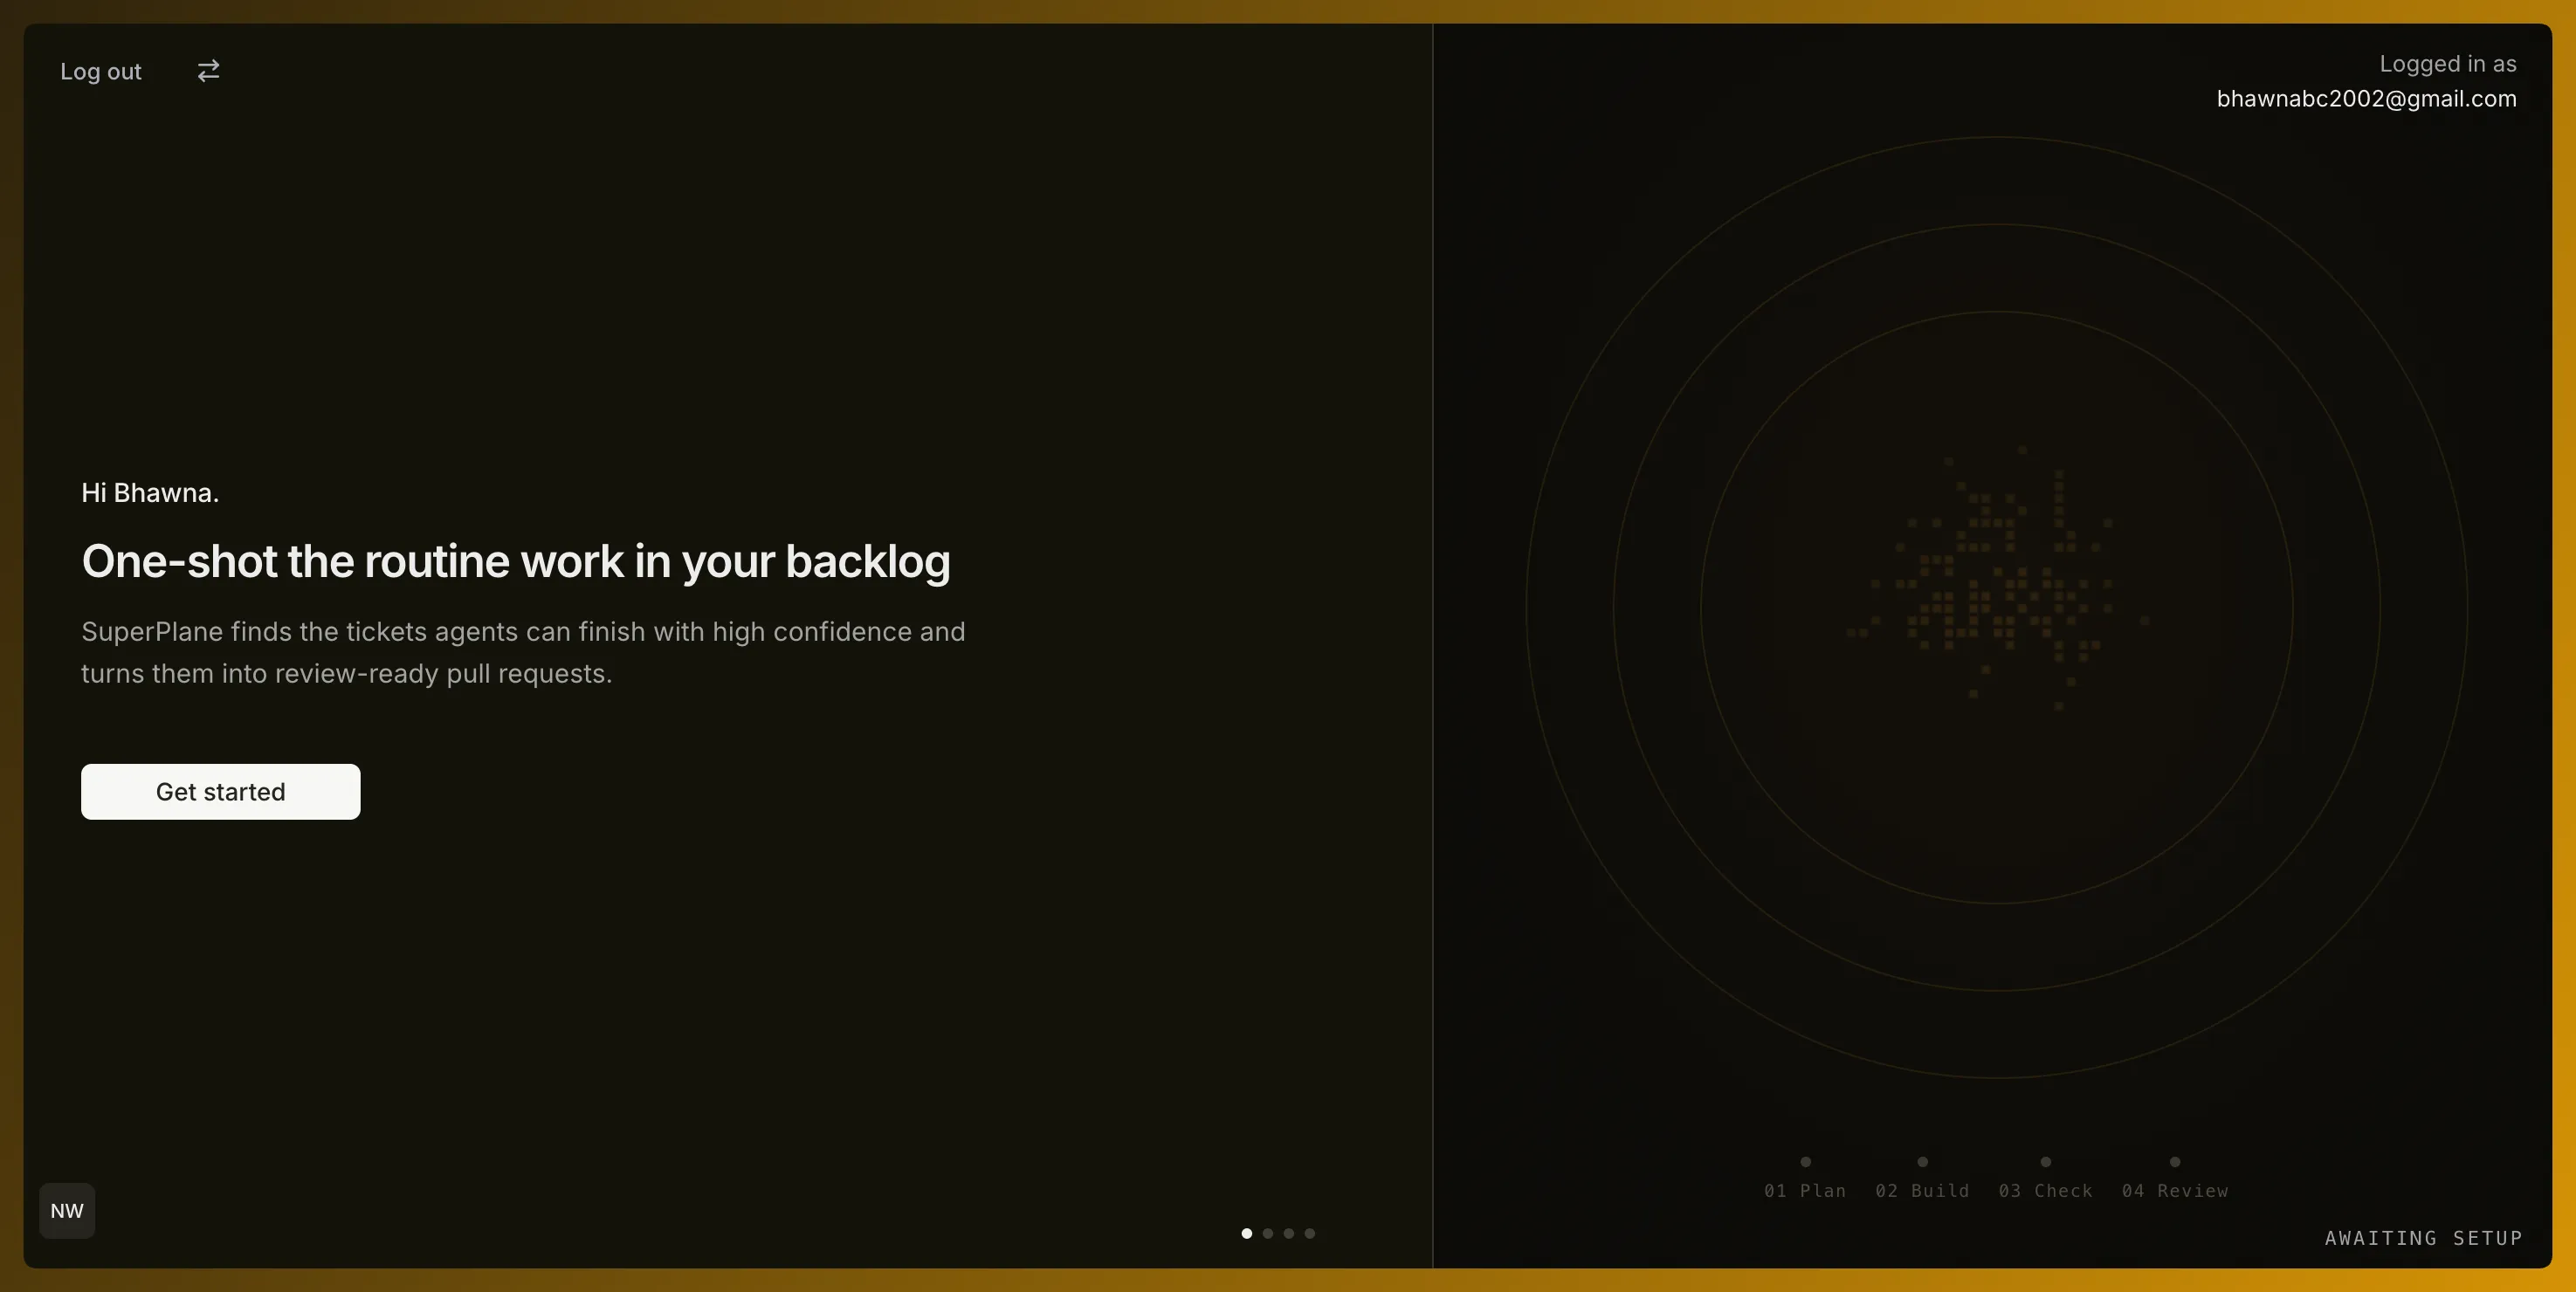
Section titled “1. Create a SuperPlane account”Sign up for SuperPlane. Create or enter the workspace where you want to run your software factory. The onboarding flow guides you through creating your first workspace.
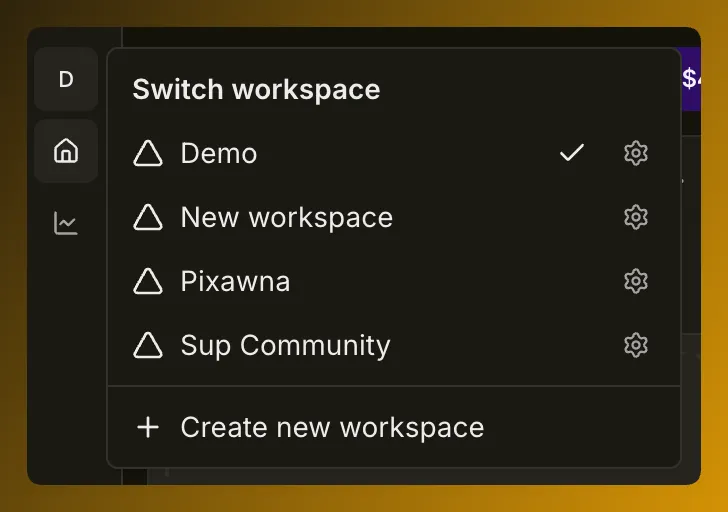
To create a workspace for another repository open the workspace switcher in the upper left corner. Select Create new workspace, connect GitHub and choose the repository.
Read Build your first Factory for a detailed configuration walkthrough.
2. Let SuperPlane prepare the workspace
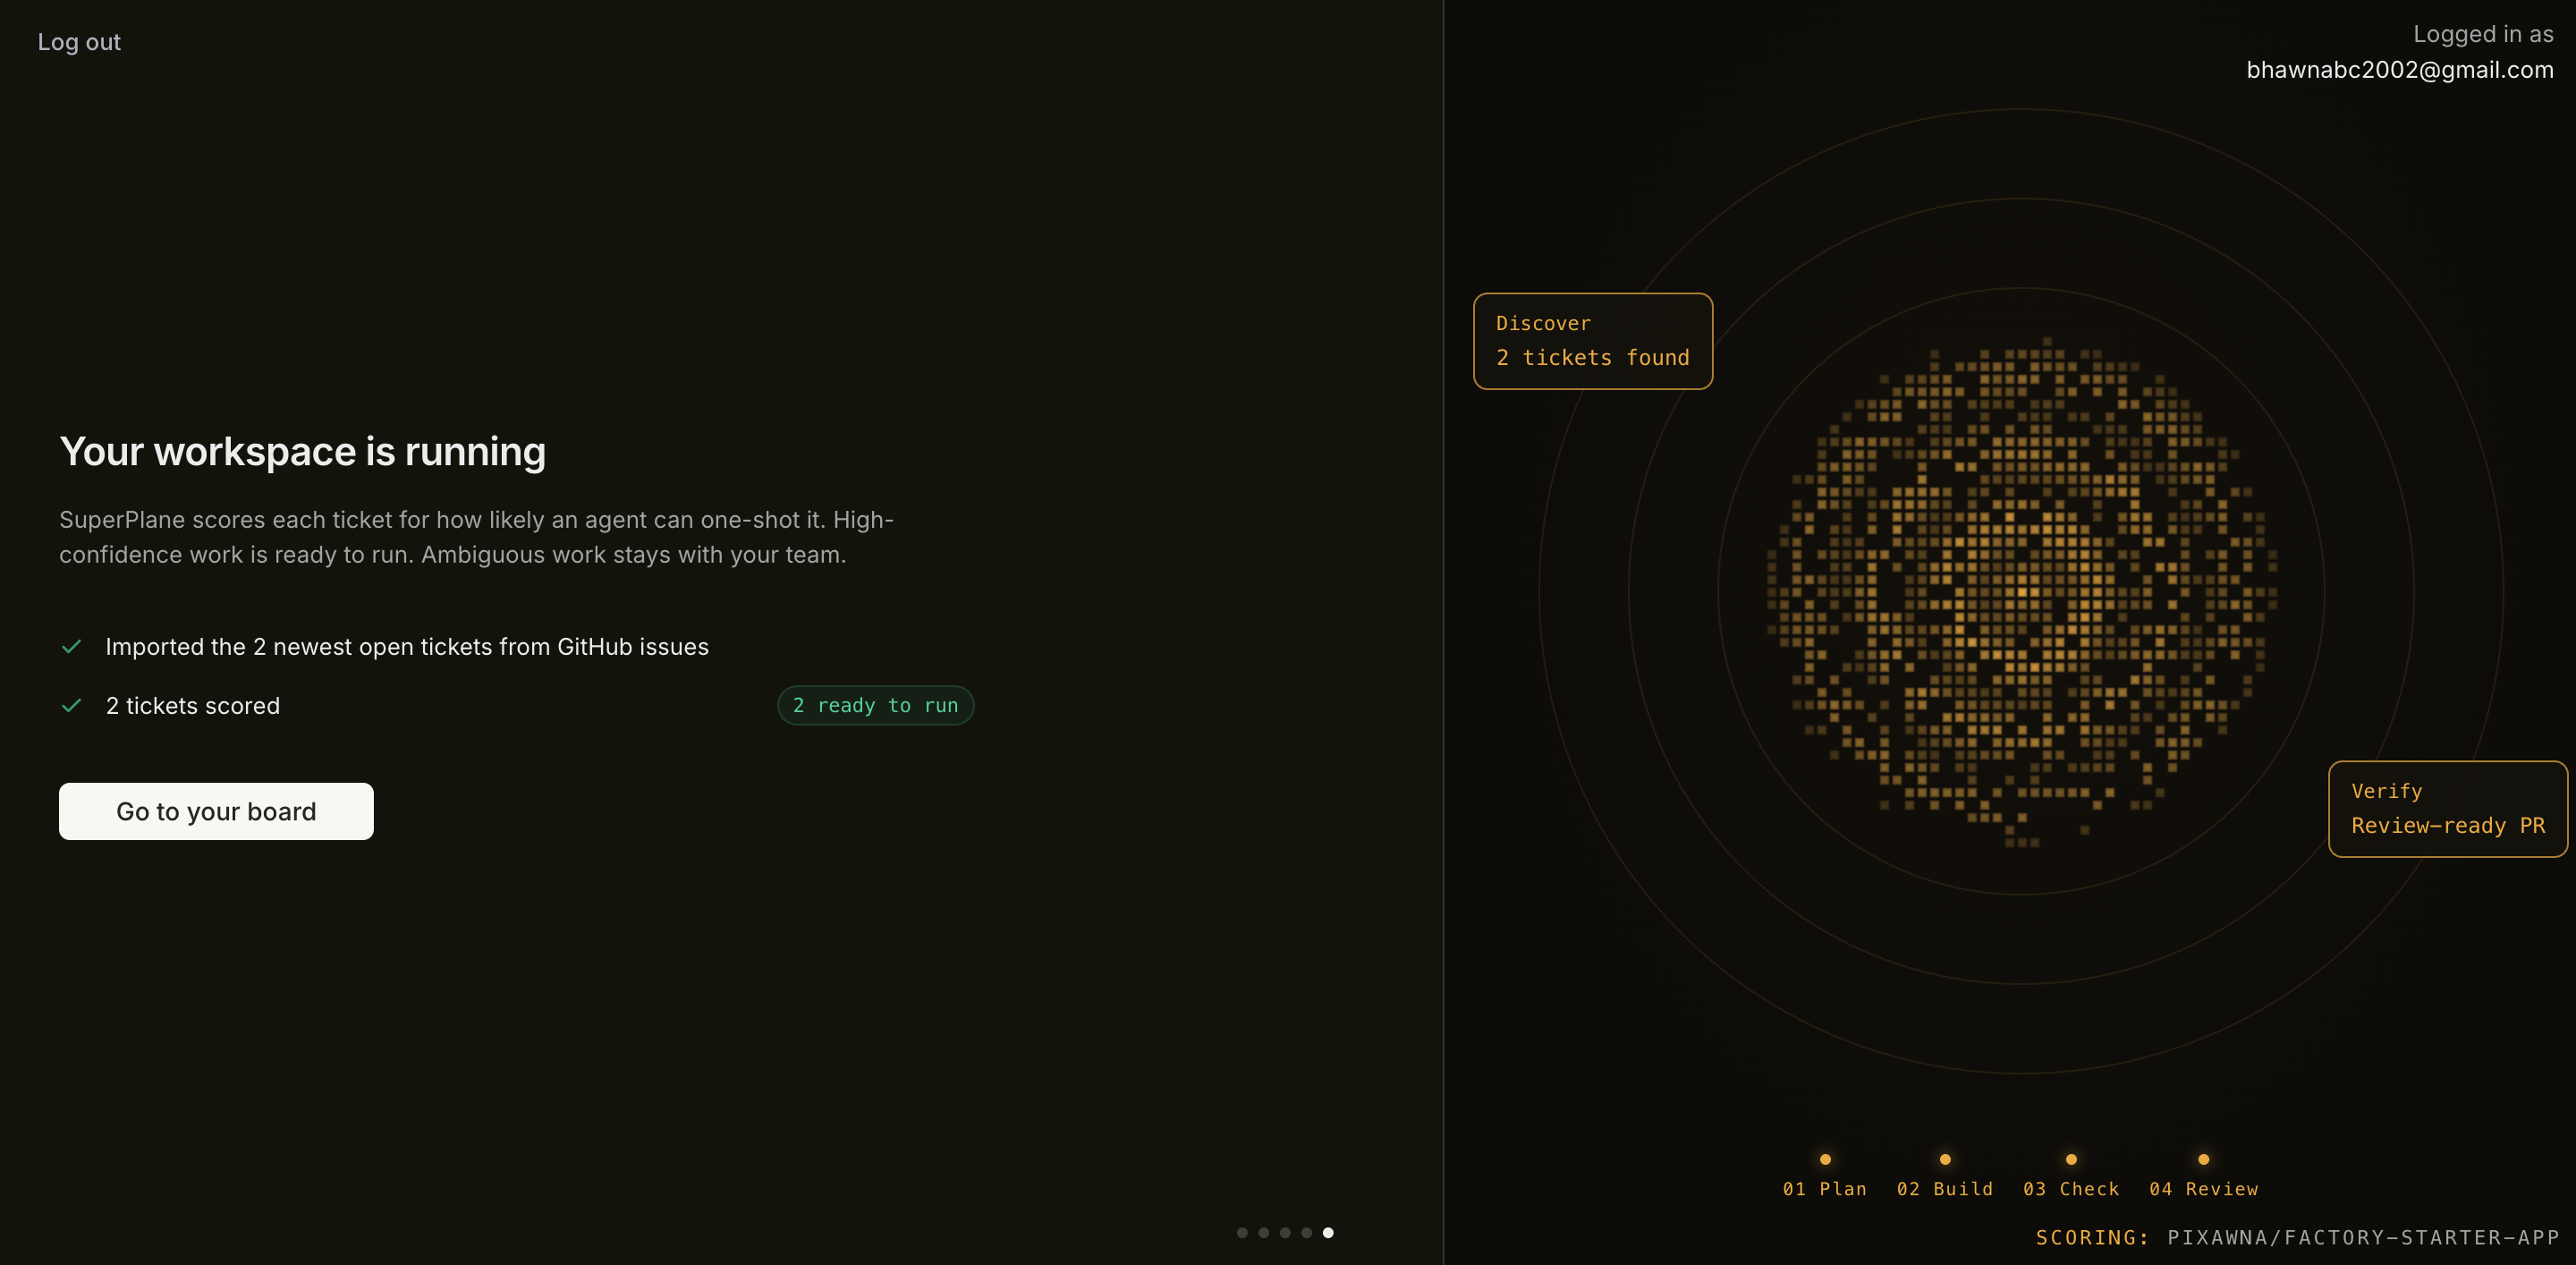
Section titled “2. Let SuperPlane prepare the workspace”Connect the repository through GitHub during onboarding. SuperPlane prepares the workspace and begins bringing work into the factory.
For GitHub Issues the onboarding flow imports recent open tickets and starts reviewing their suitability for agent execution. You do not need to copy tickets into SuperPlane.
3. Open your factory board
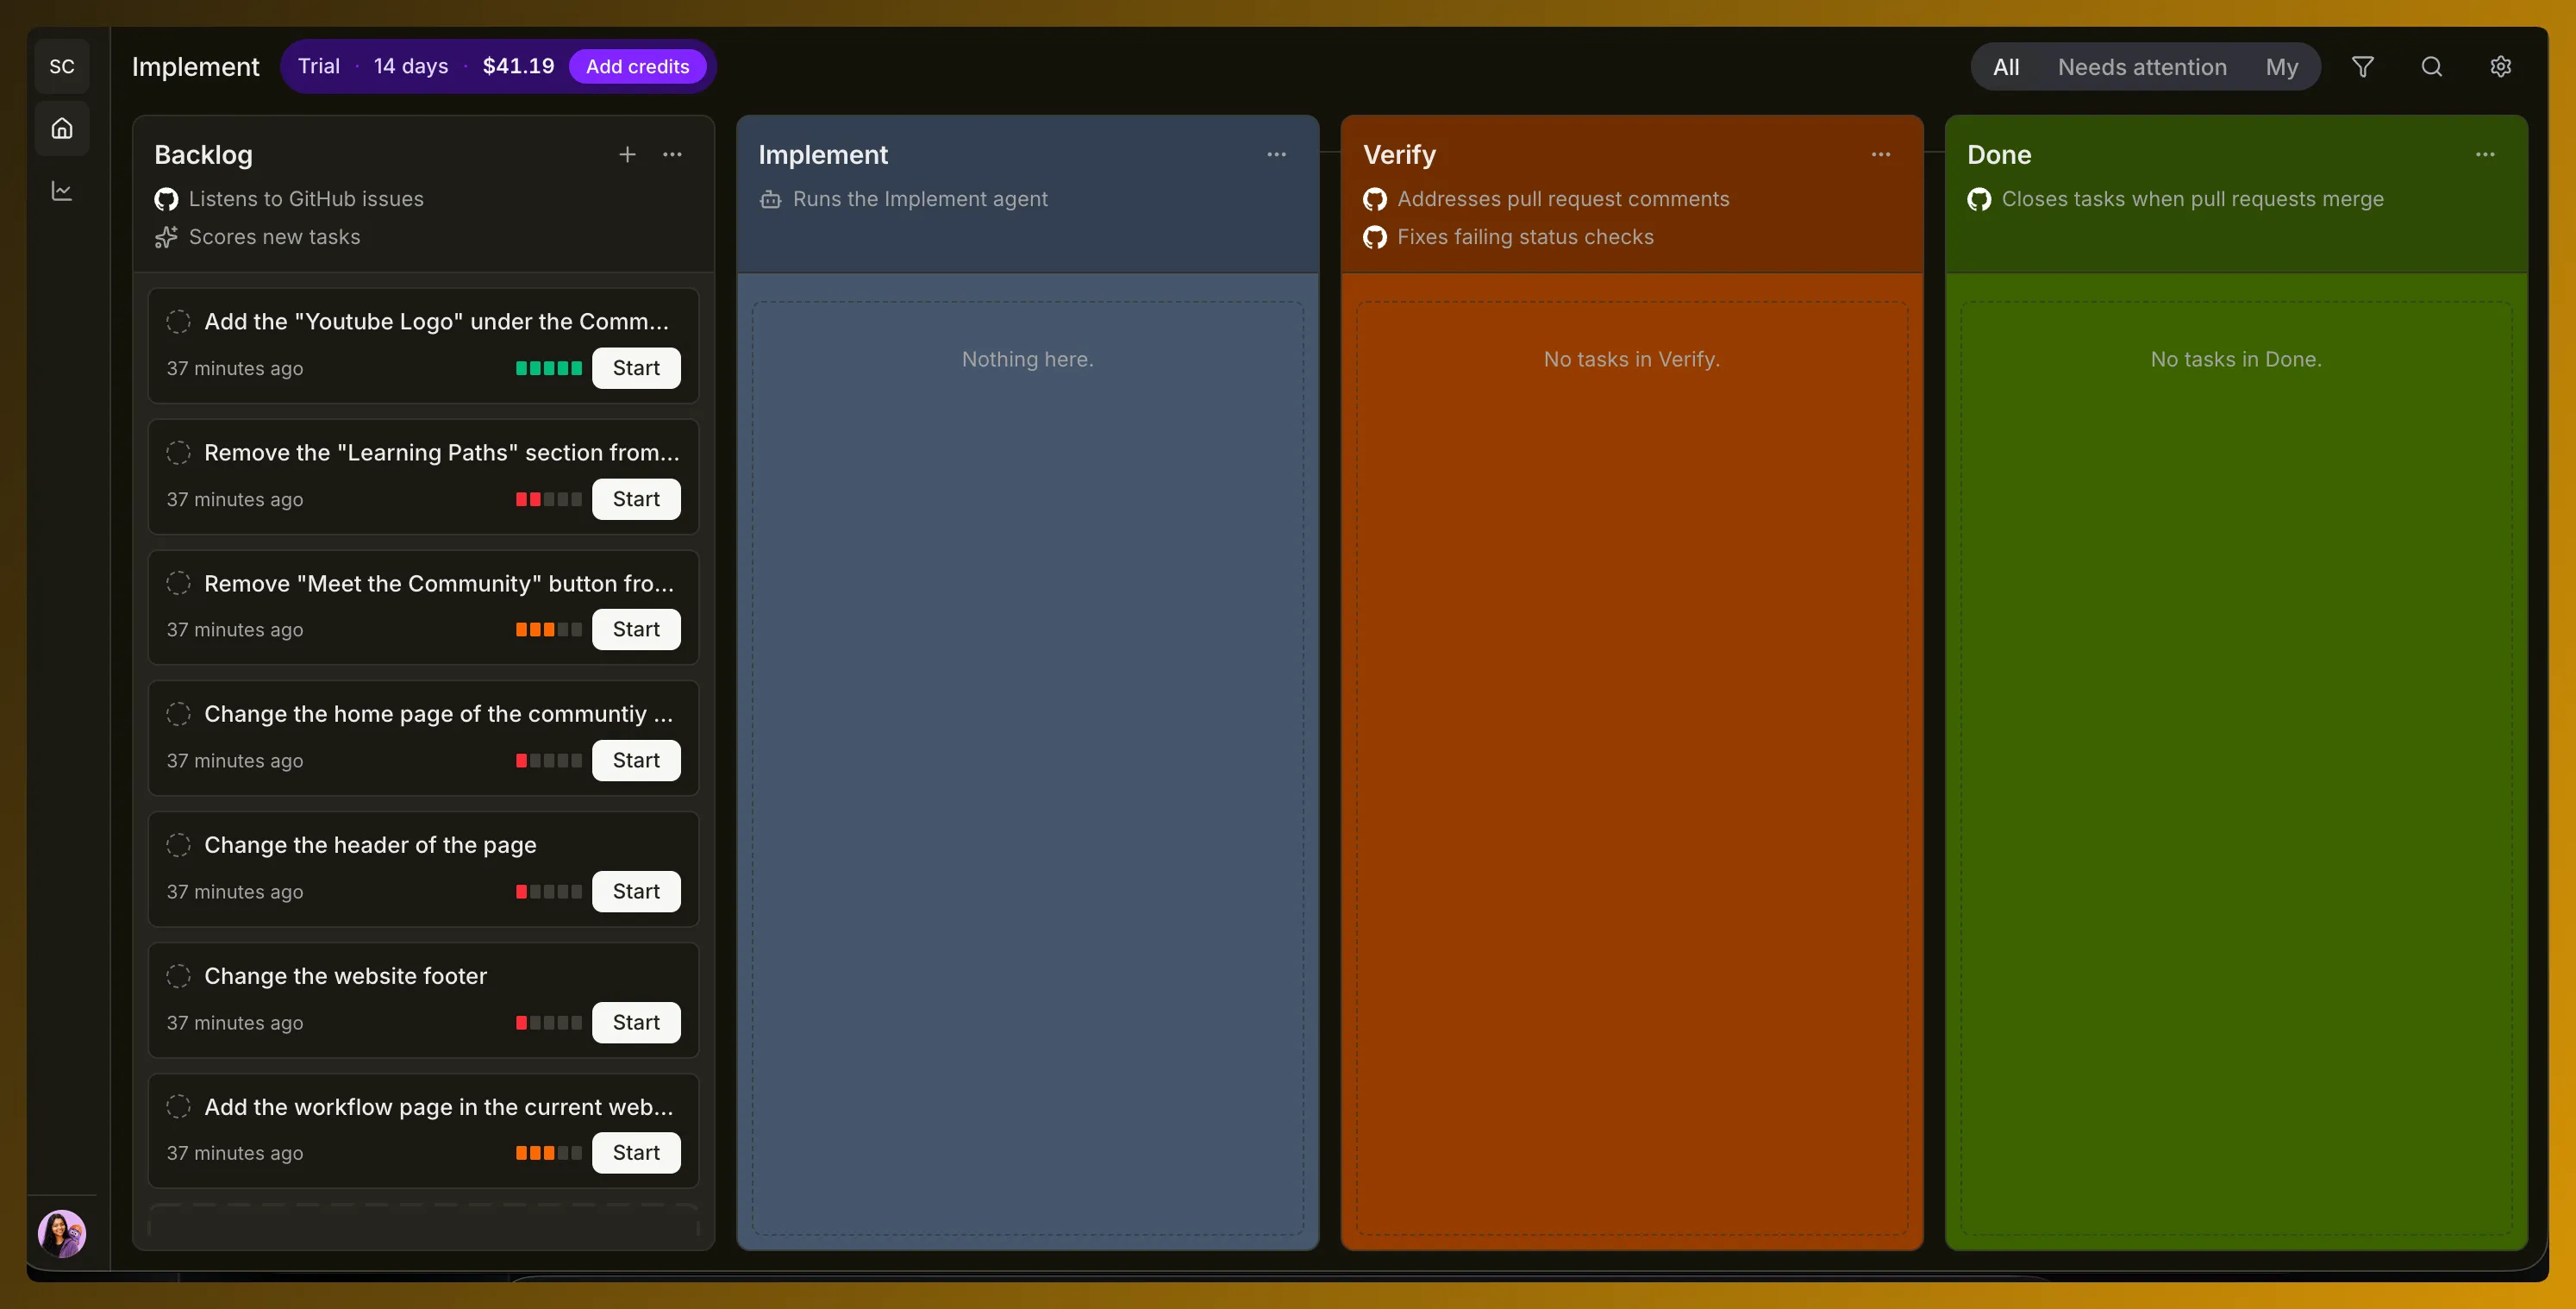
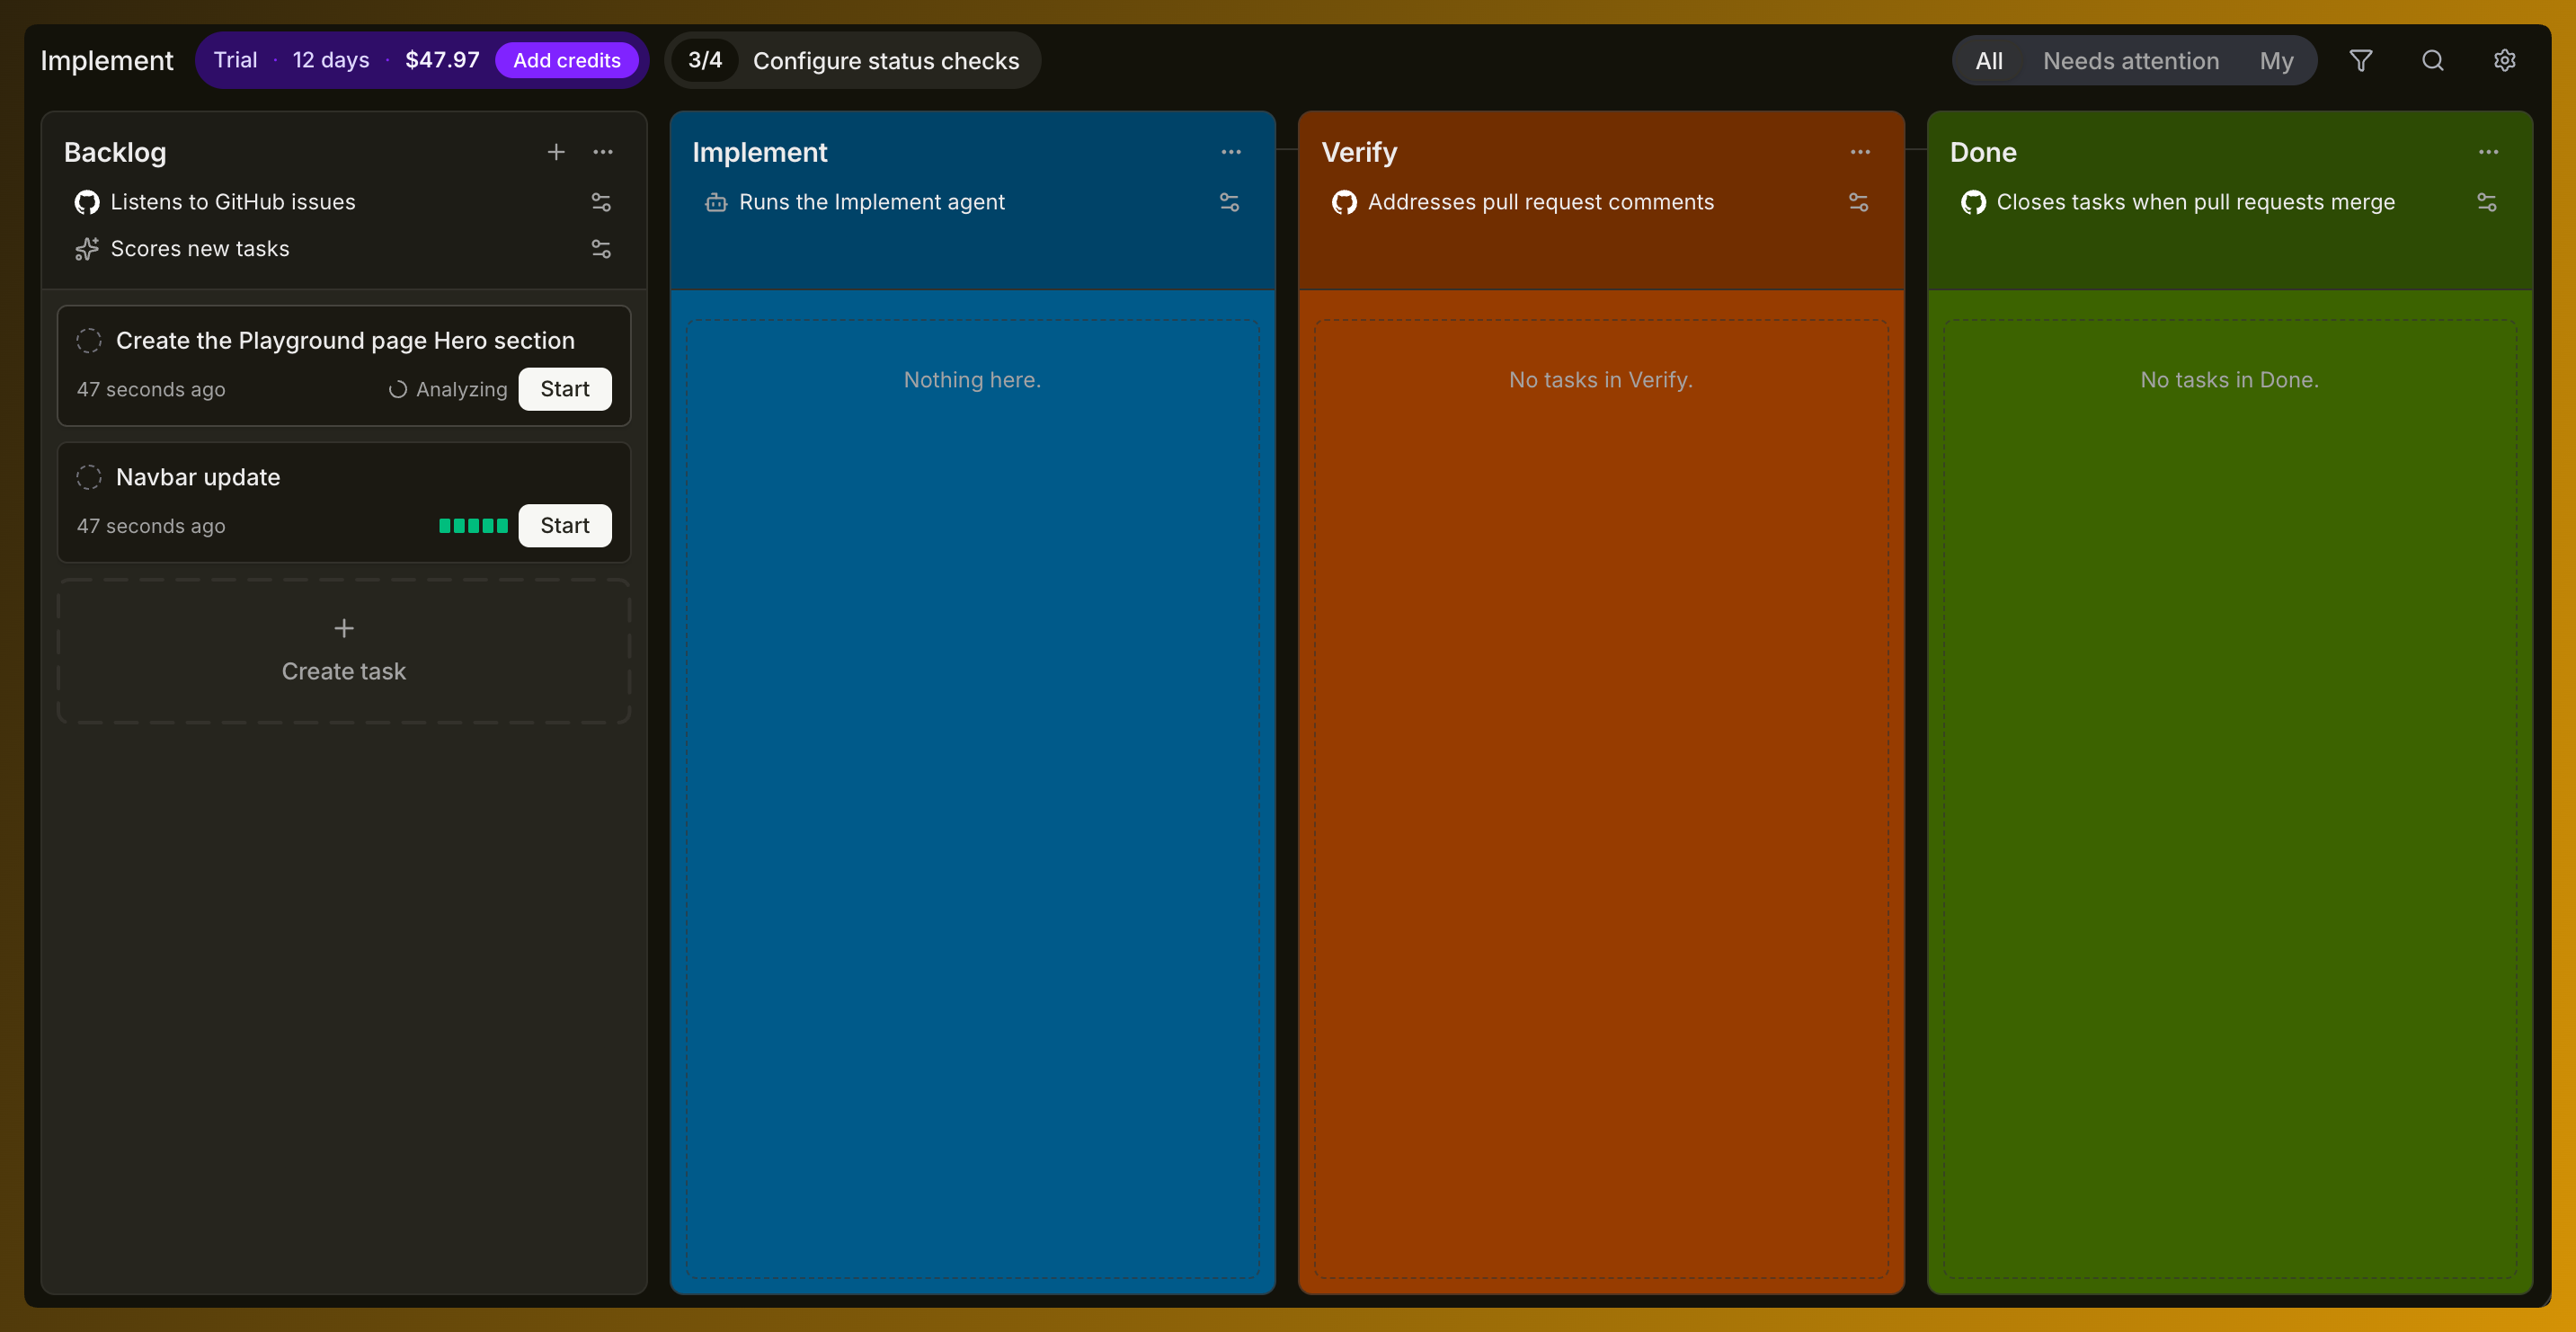
Section titled “3. Open your factory board”Select Go to your board. The factory pipeline contains four stages:
- BacklogWork is discovered and evaluated.
- ImplementAn agent plans the task and changes the code.
- VerifyChecks and review feedback validate the result.
- DoneThe pull request completes the factory workflow.
Focus on Backlog first. Newly discovered work appears here before implementation begins.
4. Understand what happens next
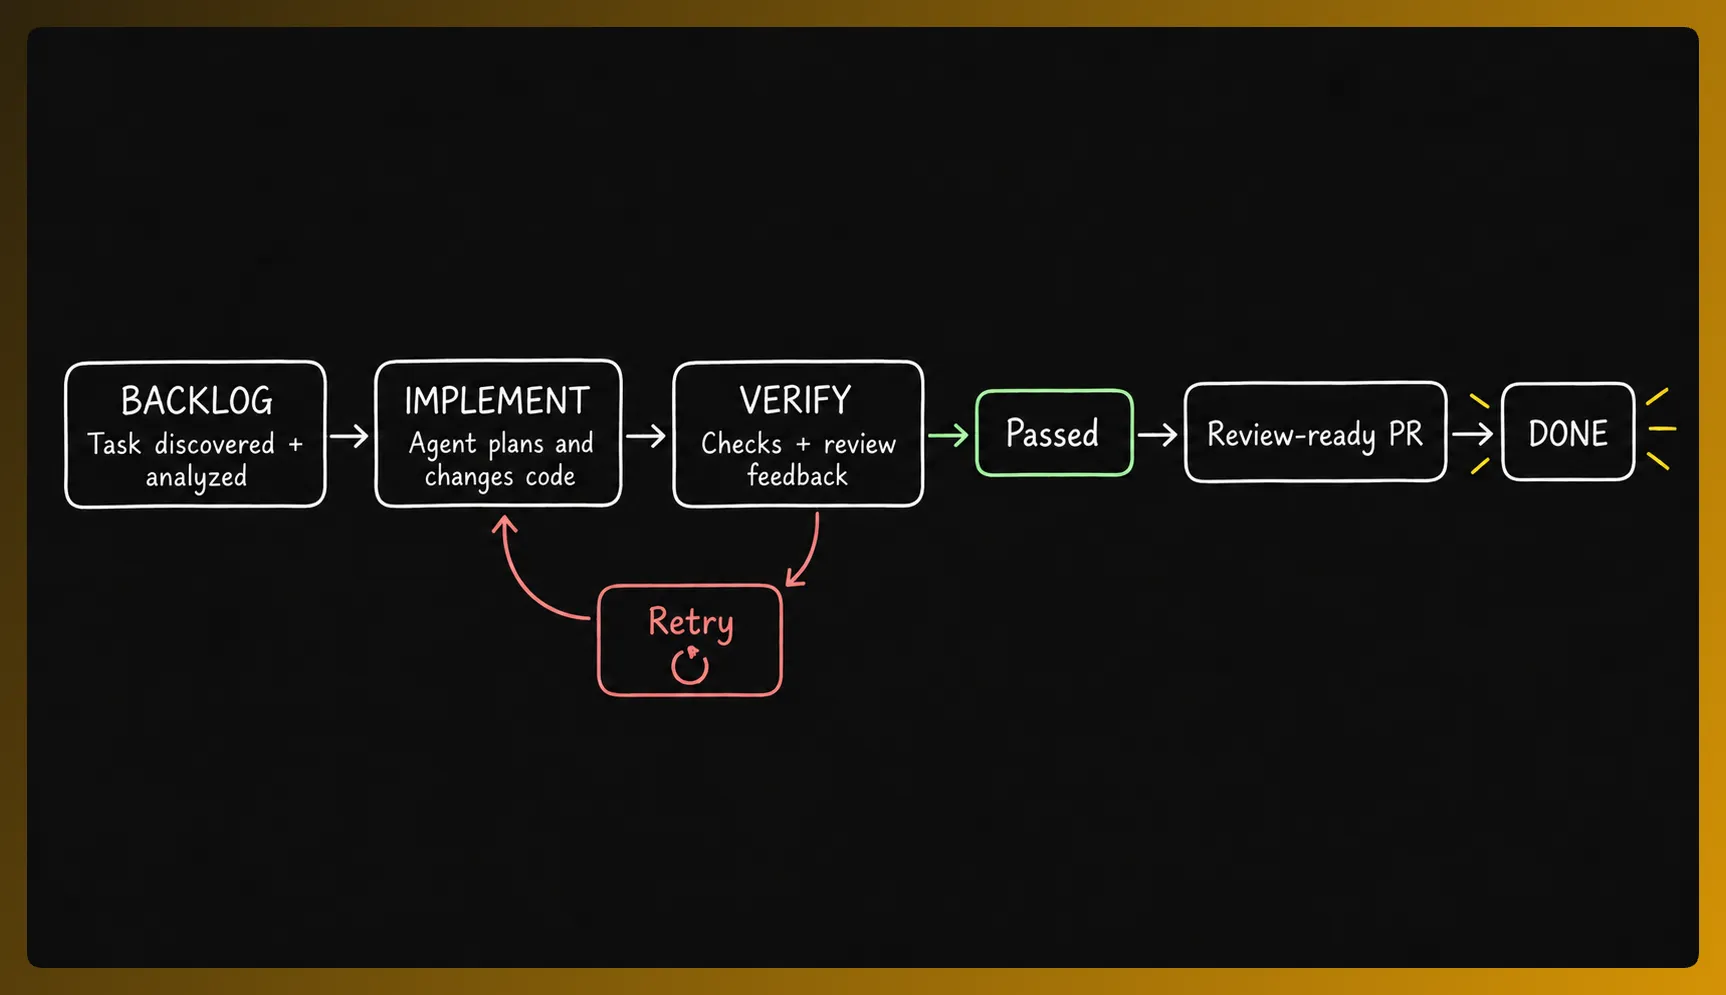
Section titled “4. Understand what happens next”When you start a task it moves through implementation and verification. A failed check can return the task to the agent with feedback. Work reaches Done when the completion rule is satisfied, such as attaching a pull request after every required status check passes.
Congratulations, you created your first software factory. Have questions or want to see the complete workflow? Follow the guided walkthrough.
Tips for your first run
Section titled “Tips for your first run”- Start small: Choose a focused task with a defined expected outcome.
- Add enough context: Describe what should change, where it should change and what success looks like.
- Choose the right repository: Use one with a few open issues and existing tests or CI checks.
- Use the defaults first: Complete the first run before you change agents, automations or verification steps.