
Create clear GitHub issues for the application you want to build.
Getting started
Build your first Factory
Turn GitHub issues into a working Next.js application and deploy it with Vercel.Start with a nearly empty GitHub repository and use SuperPlane to turn two focused issues into a working Next.js application. Then merge the verified work and deploy it with Vercel.
This guide uses the Factory Starter App repository. Instead of asking an agent to build the whole application in one run, you will send small pieces of engineering work through the same factory.
Move each issue from Backlog through implementation and verification.
Merge the pull requests after the configured checks pass and deploy the result with Vercel.
By the end, your work will have followed this path:
- IssueDefine a focused result
- ImplementLet the agent change the code
- VerifyReview checks and the pull request
- ProductionMerge and deploy the application
What you are going to build
Section titled “What you are going to build”The example is intentionally small. You will create the application in three pieces:
- Set up the initial Next.js application.
- Build and polish the frontend.
- Deploy the application to Vercel.
The first two pieces become GitHub issues. Keeping them separate gives the factory a clear result to implement and verify during each run.
1. Start with the repository
Section titled “1. Start with the repository”Open the Factory Starter App repository. You do not need a finished application yet. The repository is where you will define the work and where SuperPlane will push each change.

2. Break the project into issues
Section titled “2. Break the project into issues”Do not create one issue called “Build the whole website and deploy it.” Create smaller issues that give SuperPlane a clear scope, expected result and set of checks.
Issue 1: Create the initial Next.js application
Section titled “Issue 1: Create the initial Next.js application”Ask for the base application, project structure and a simple homepage. Include acceptance criteria that can be checked locally such as a successful build and an accessible default page.

Issue 2: Build the frontend
Section titled “Issue 2: Build the frontend”Once the base application exists, create a second issue for the real homepage. Describe the layout, required sections and responsive behavior you expect.

Replace this design brief with the actual interface you want the factory to build. Keep the issue focused enough that one pull request can complete it.
3. Connect the repository to SuperPlane
Section titled “3. Connect the repository to SuperPlane”Complete these four steps to bring the project into SuperPlane.
If you have not connected a repository before, complete the Quickstart first.
Connect GitHub.
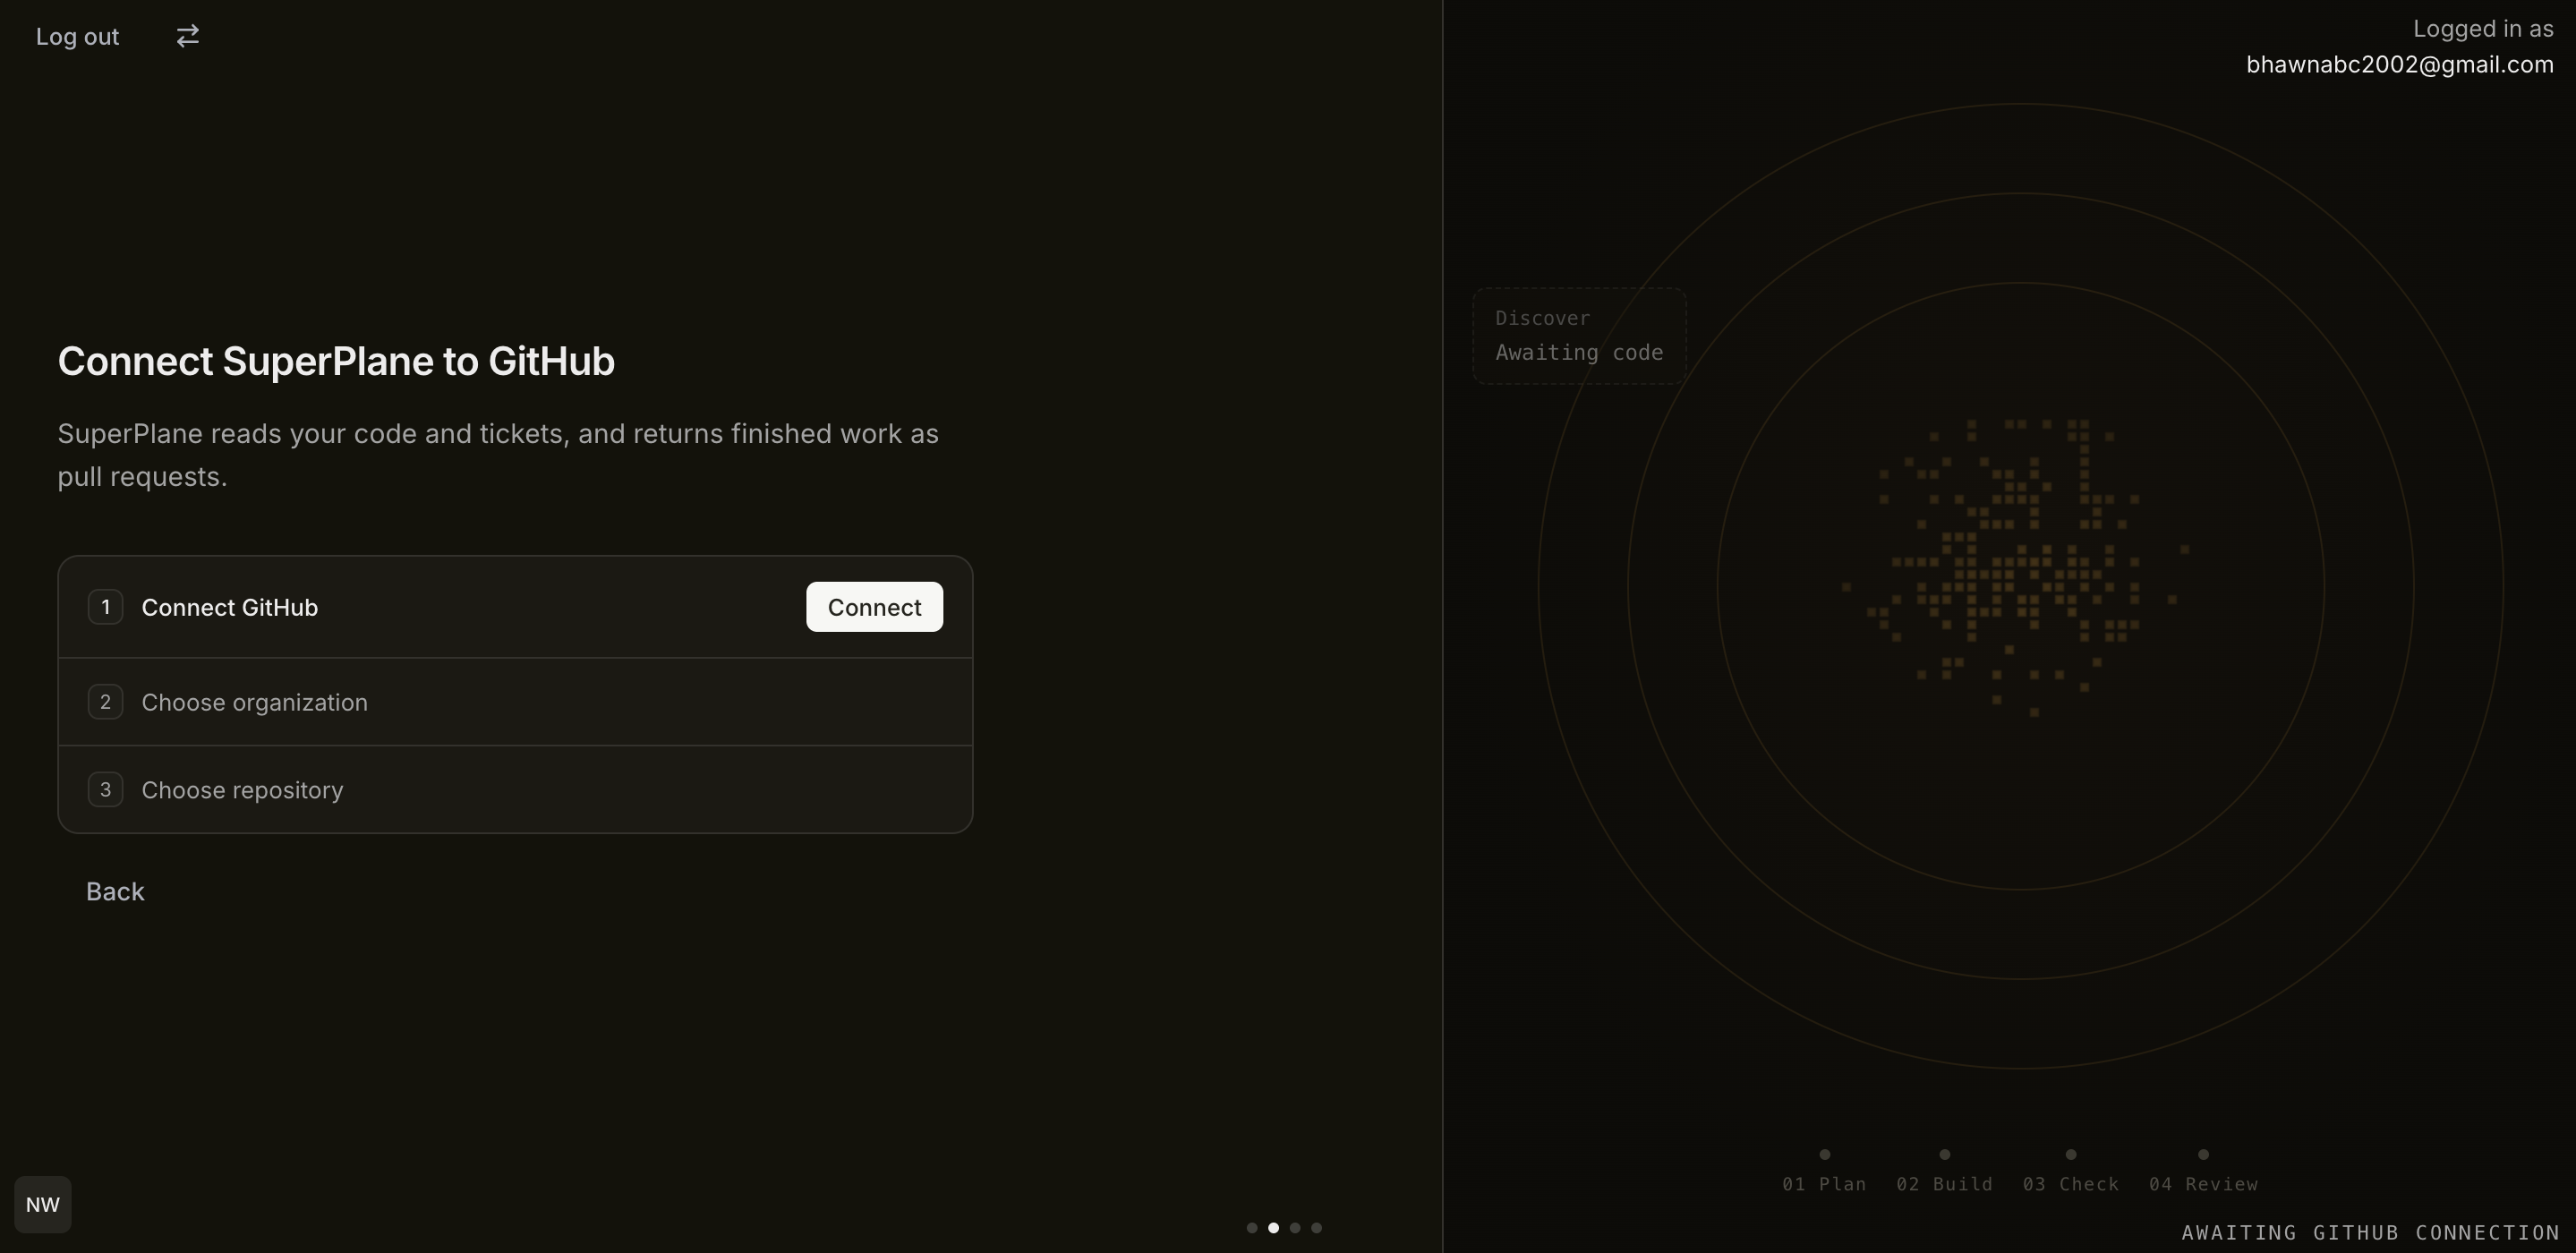
Connect GitHub to your SuperPlane workspace.
Select Factory-Starter-App.
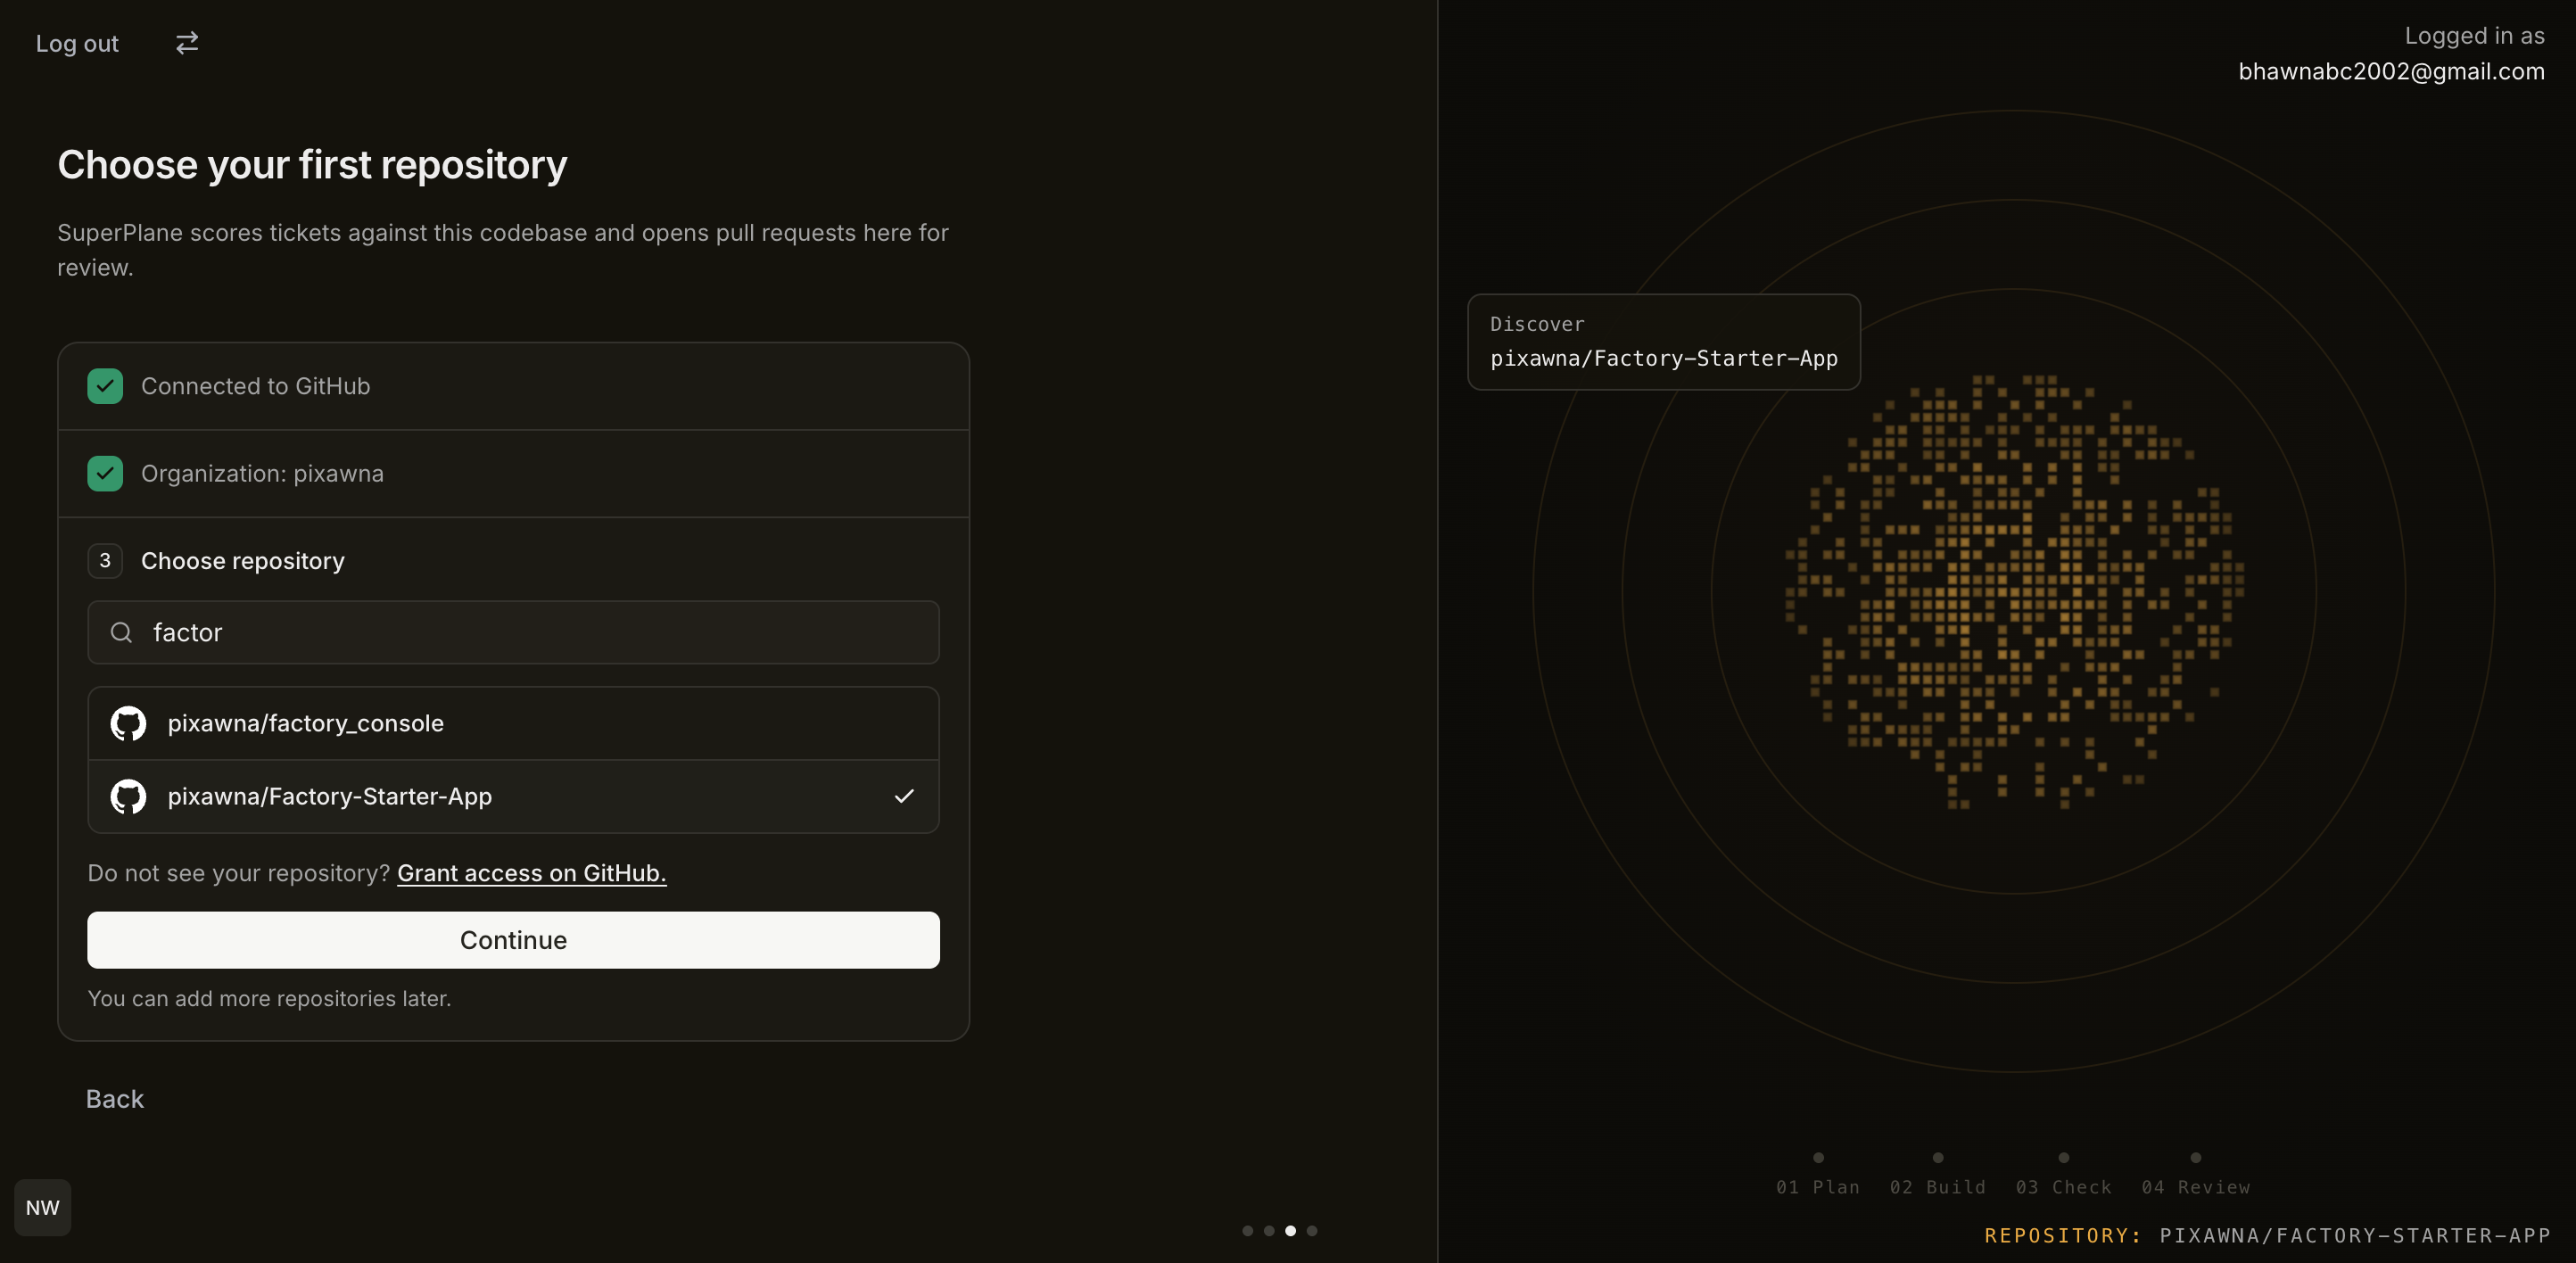
Choose Factory-Starter-App as the repository for this factory.
Allow SuperPlane to import work from the repository.
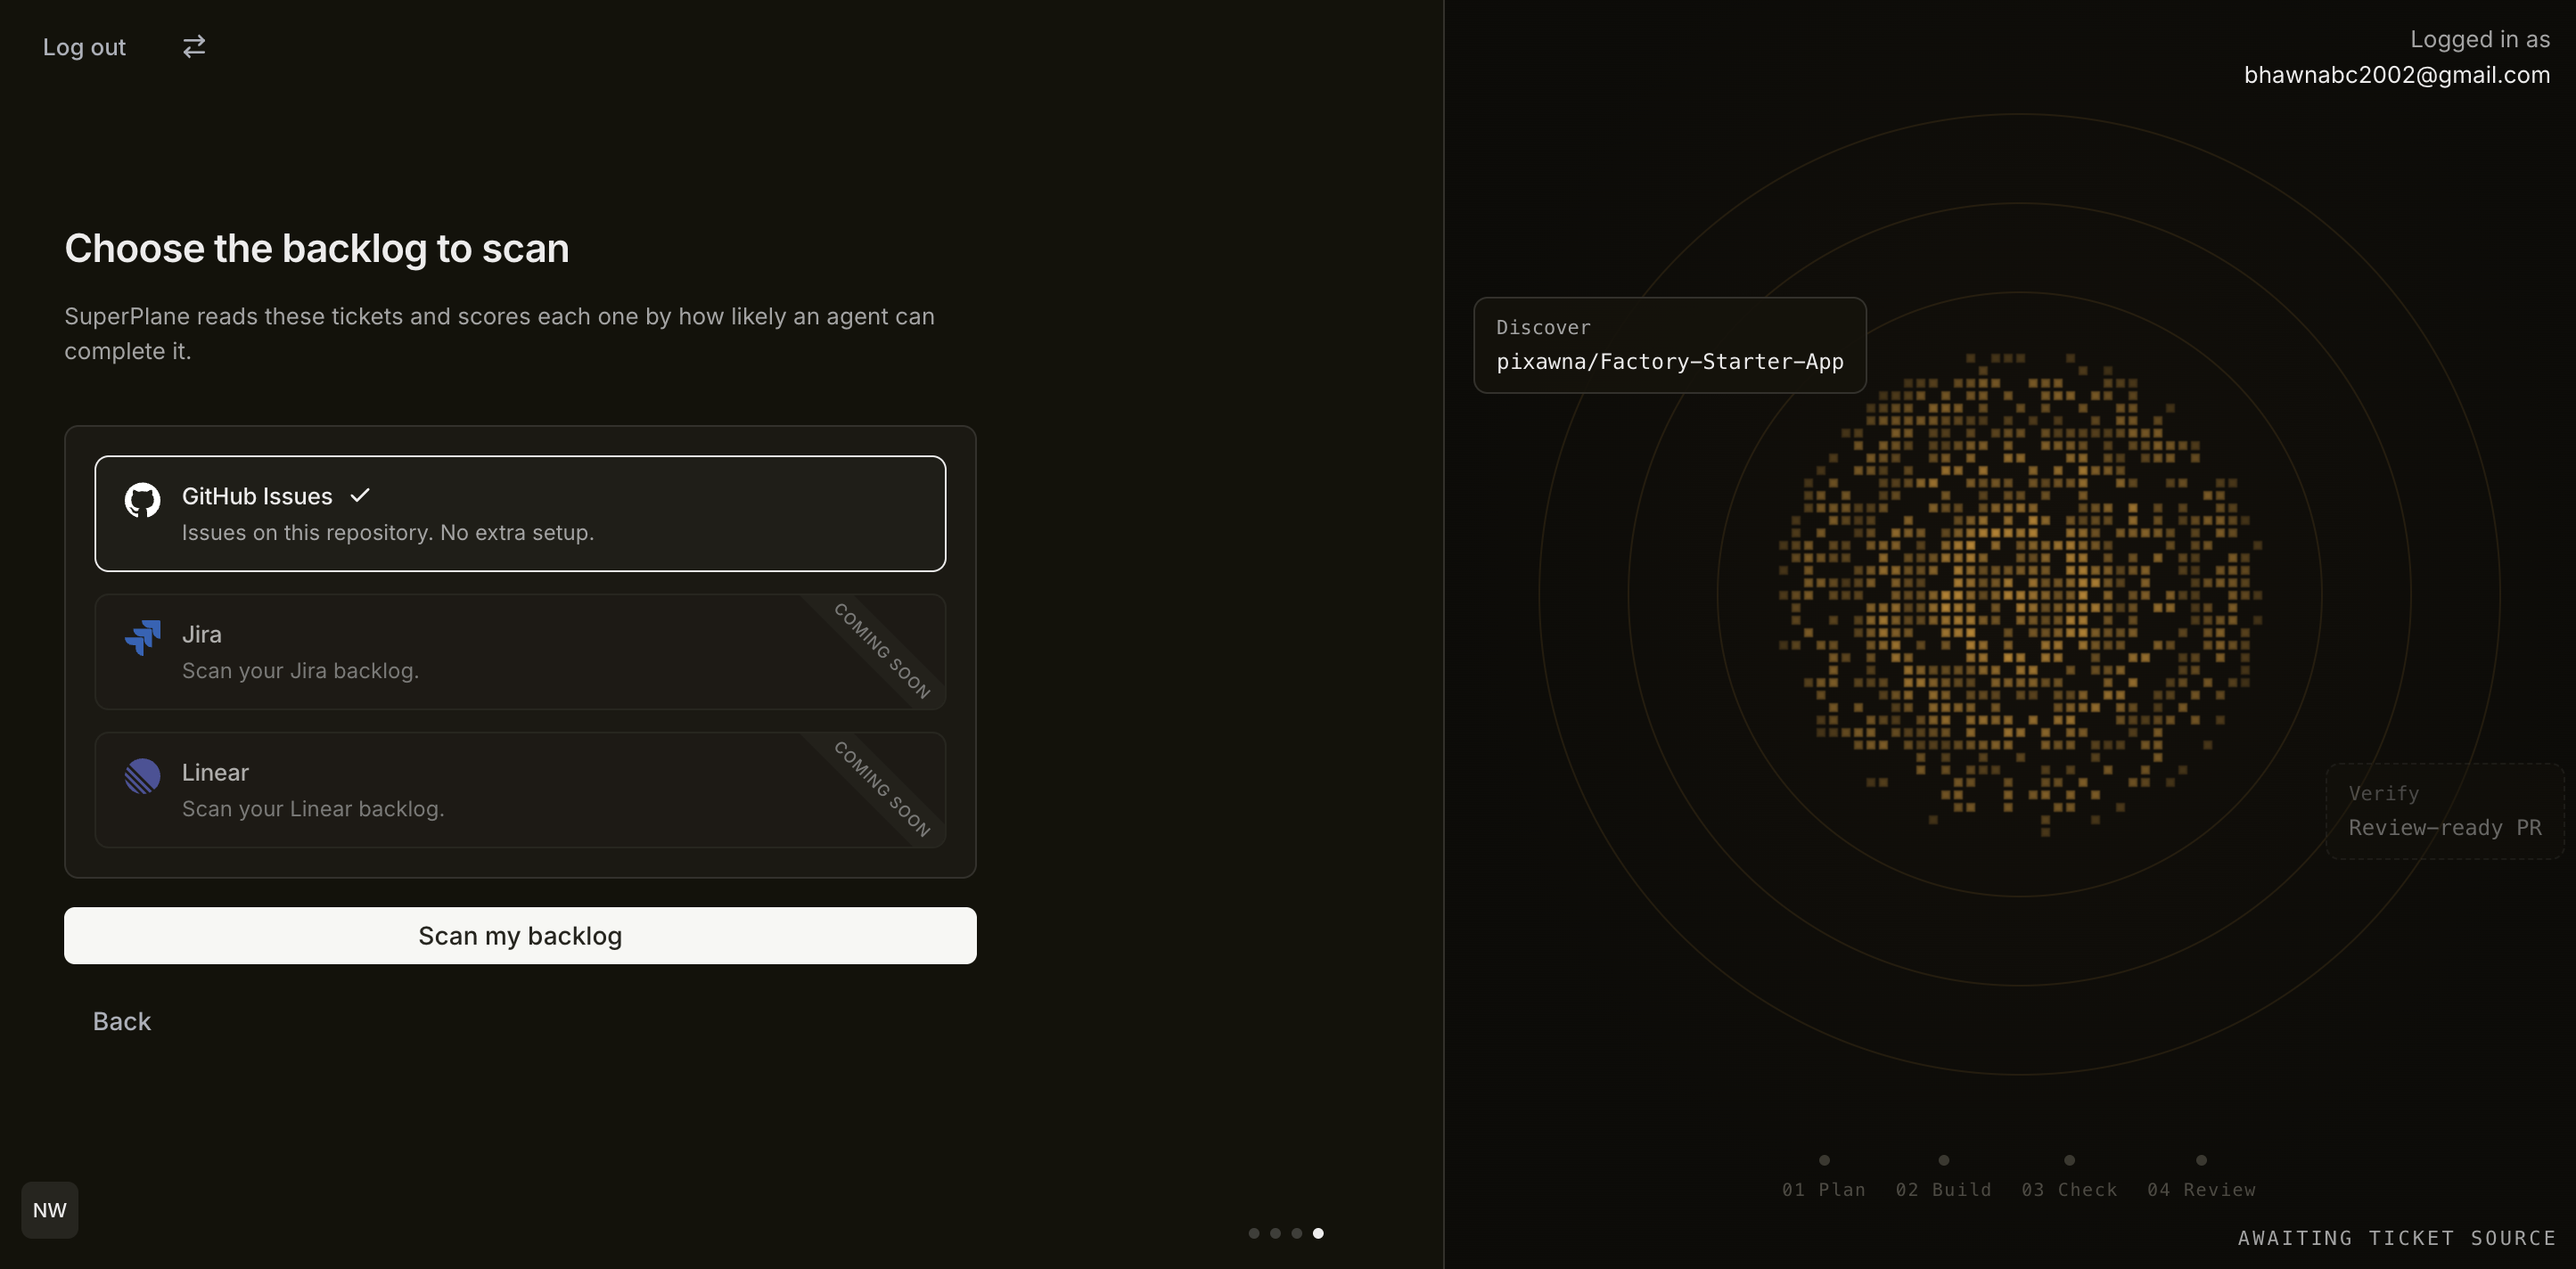
Use GitHub Issues as the source for work entering the Backlog.
Open your factory board.
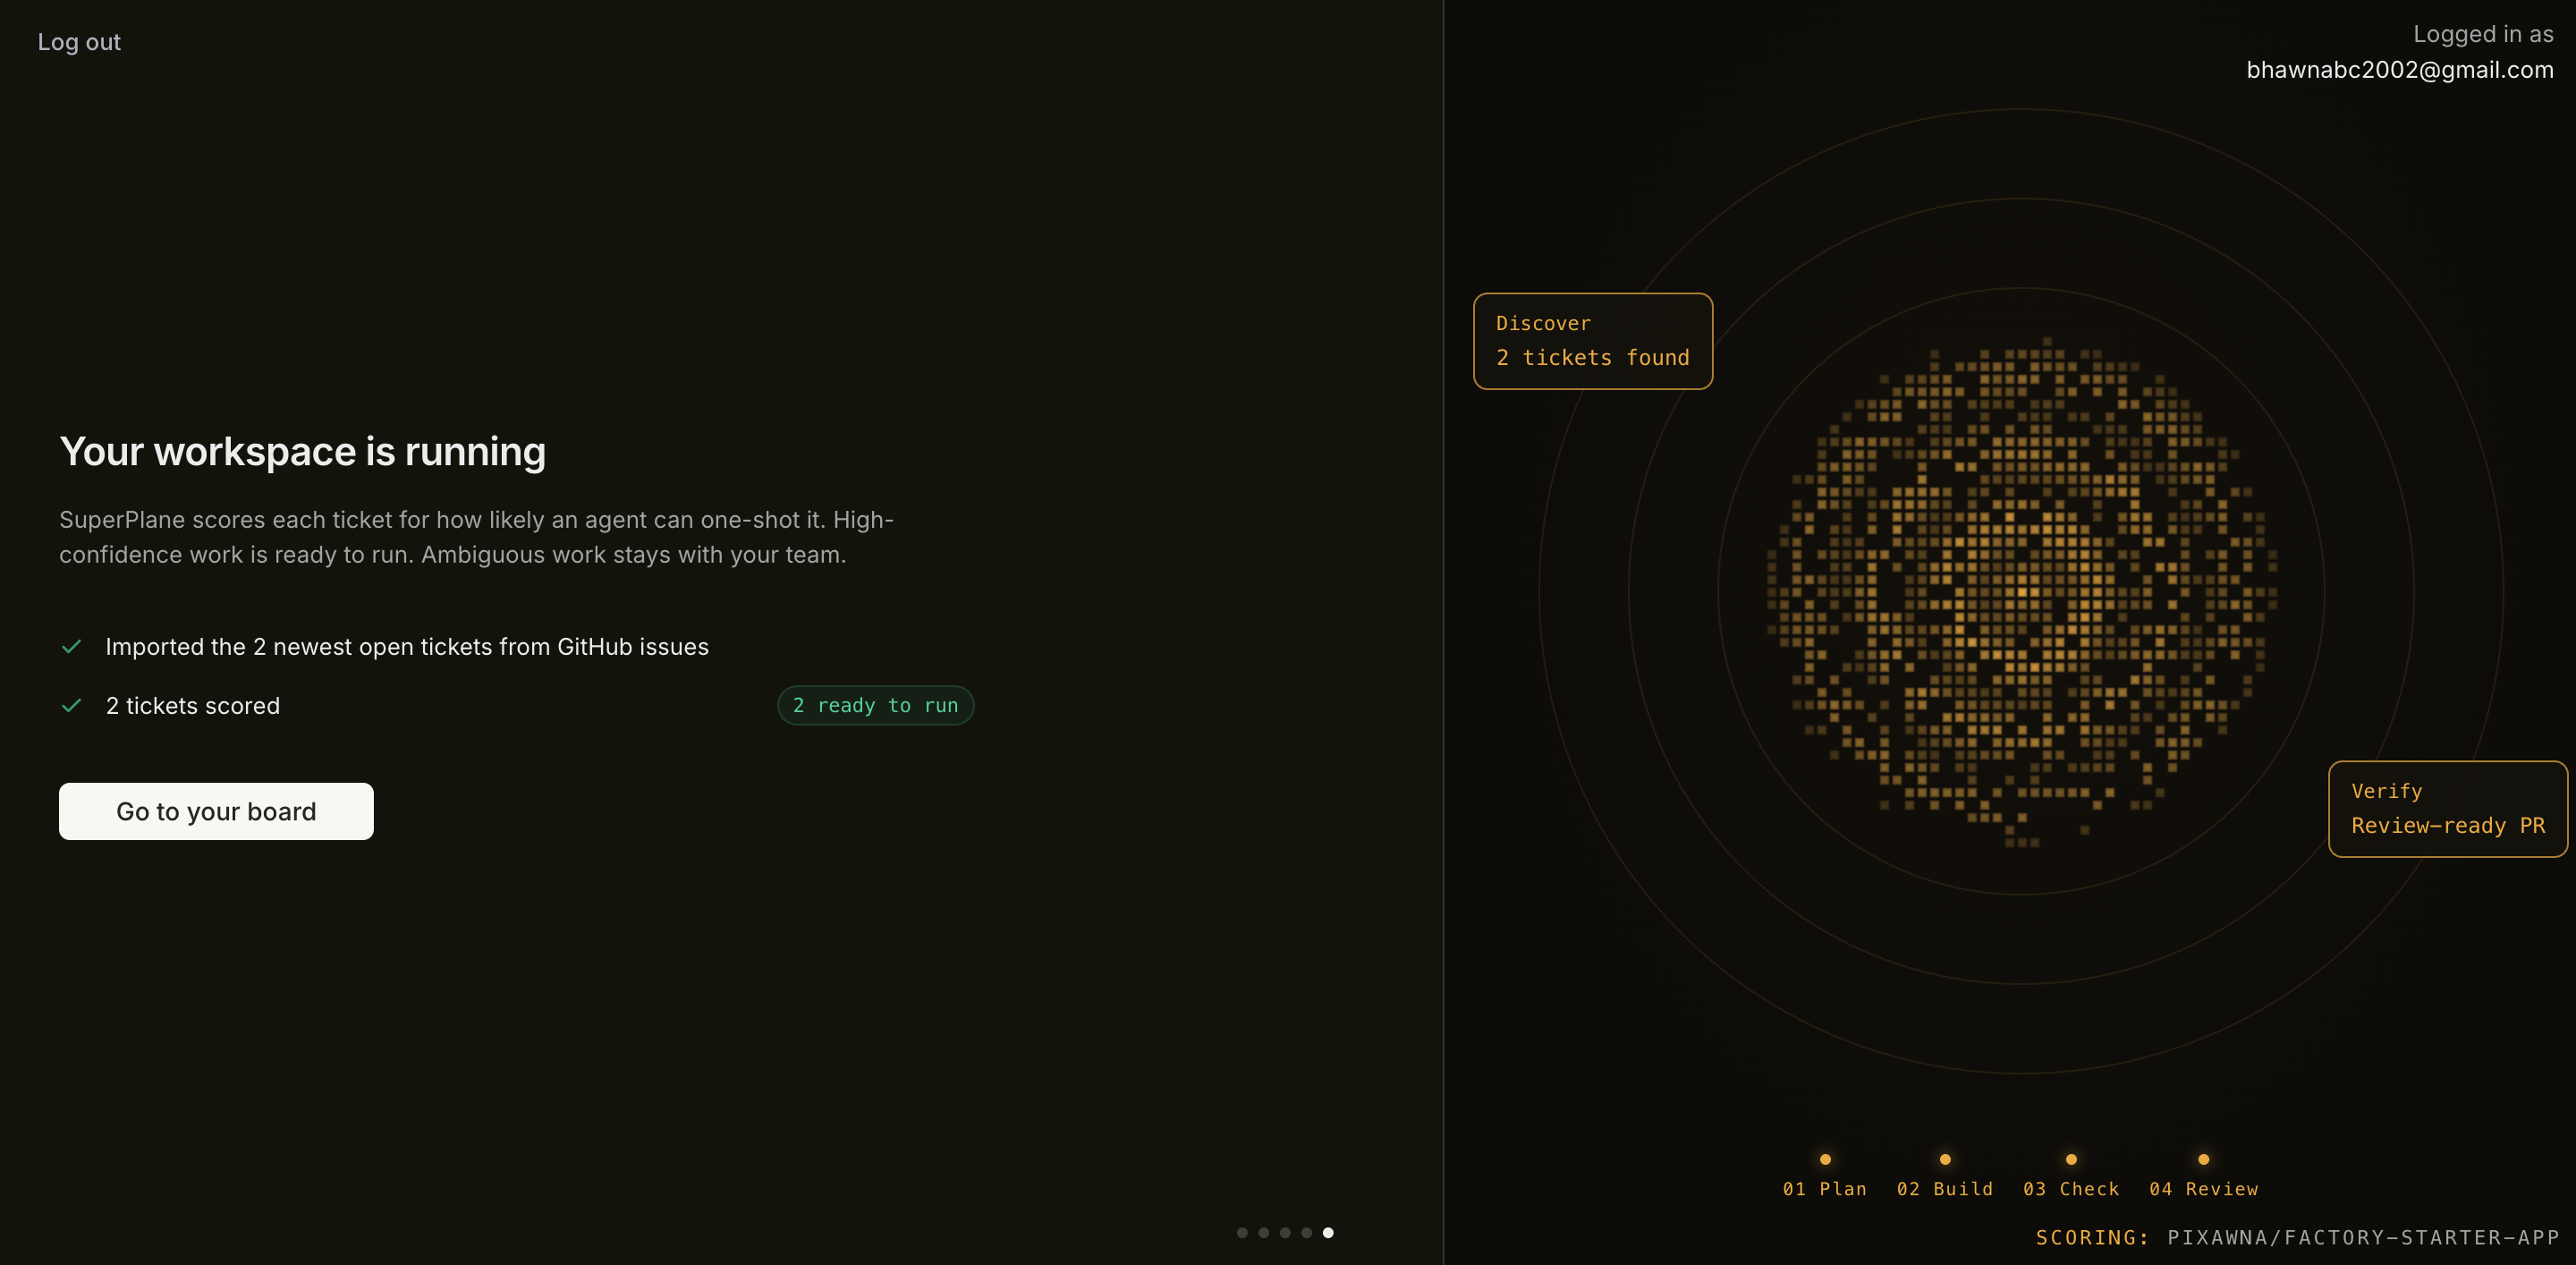
Open the board after SuperPlane finishes importing the repository.
Once connected, the issues you just created should begin appearing in the Backlog.
4. Start the first issue
Section titled “4. Start the first issue”Open Backlog and select Set up the initial Next.js application. Before an agent changes code, SuperPlane analyzes whether the task is suitable for automation.
Create the Next.js application
- Clear scope
- Expected result
- Build can be run
- Easy to review
Review the task context. When the scope and expected result look right, select Start.
5. Watch the factory implement it
Section titled “5. Watch the factory implement it”Starting the task moves it into Implement. The configured coding agent works on the repository while the factory controls the process around it.
Read issueInspect repositorySet up Next.jsCreate homepageInstall dependenciesRun buildCommit changesCreate or update PR
You do not need to describe these operational steps in every issue. The implementation process belongs to the factory.
Inspect the agent configuration
Section titled “Inspect the agent configuration”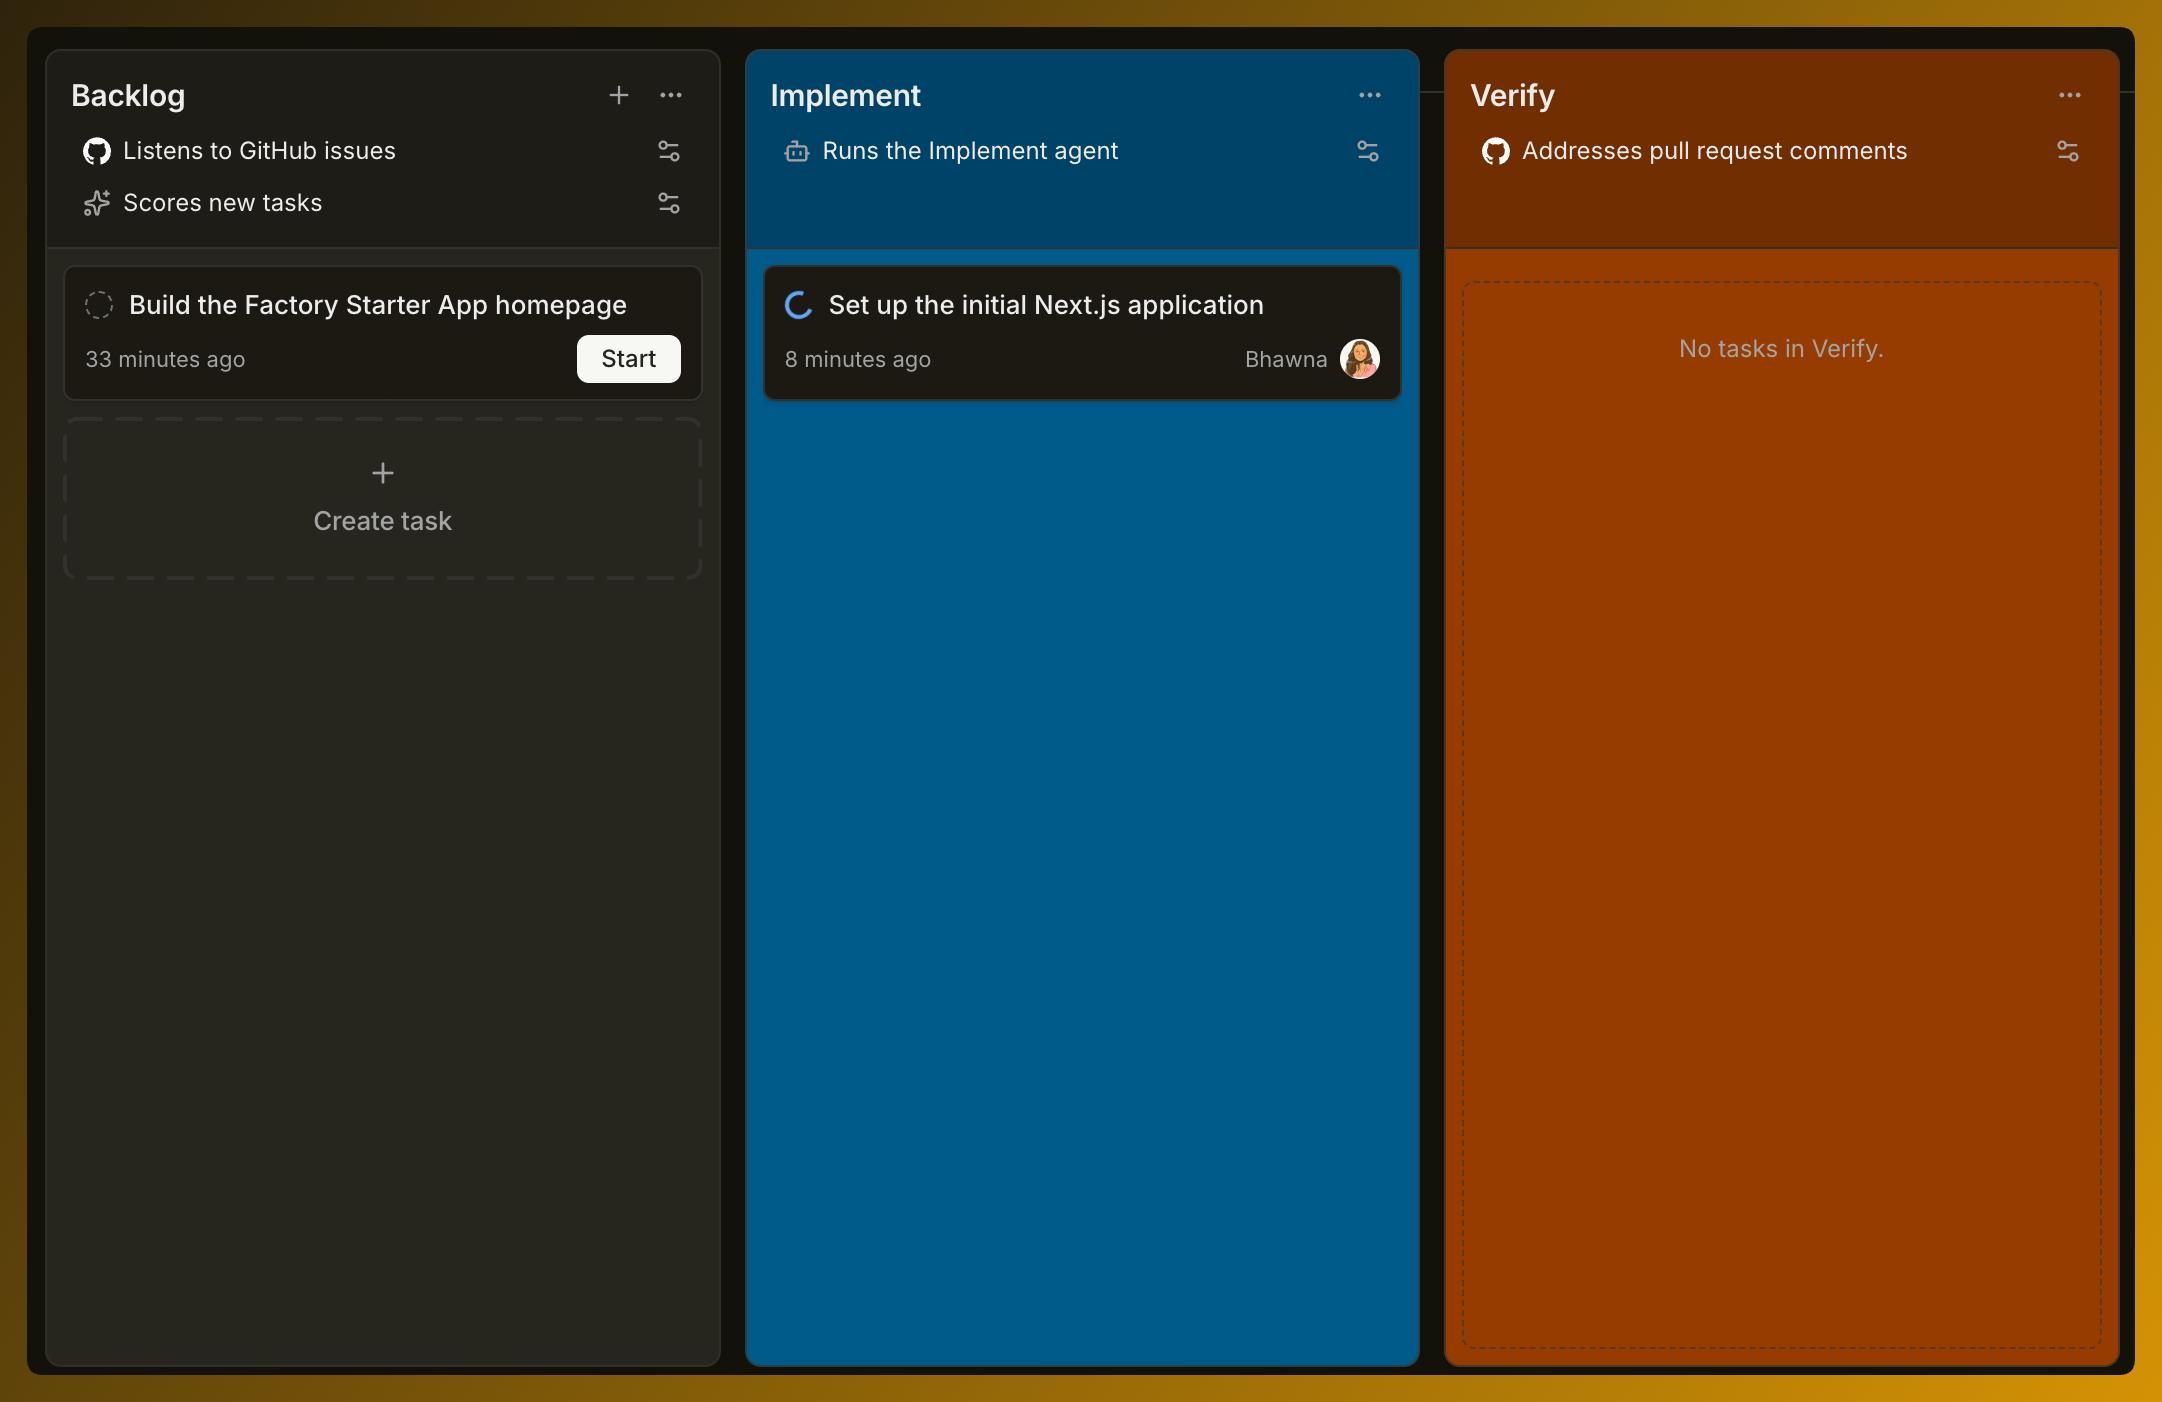
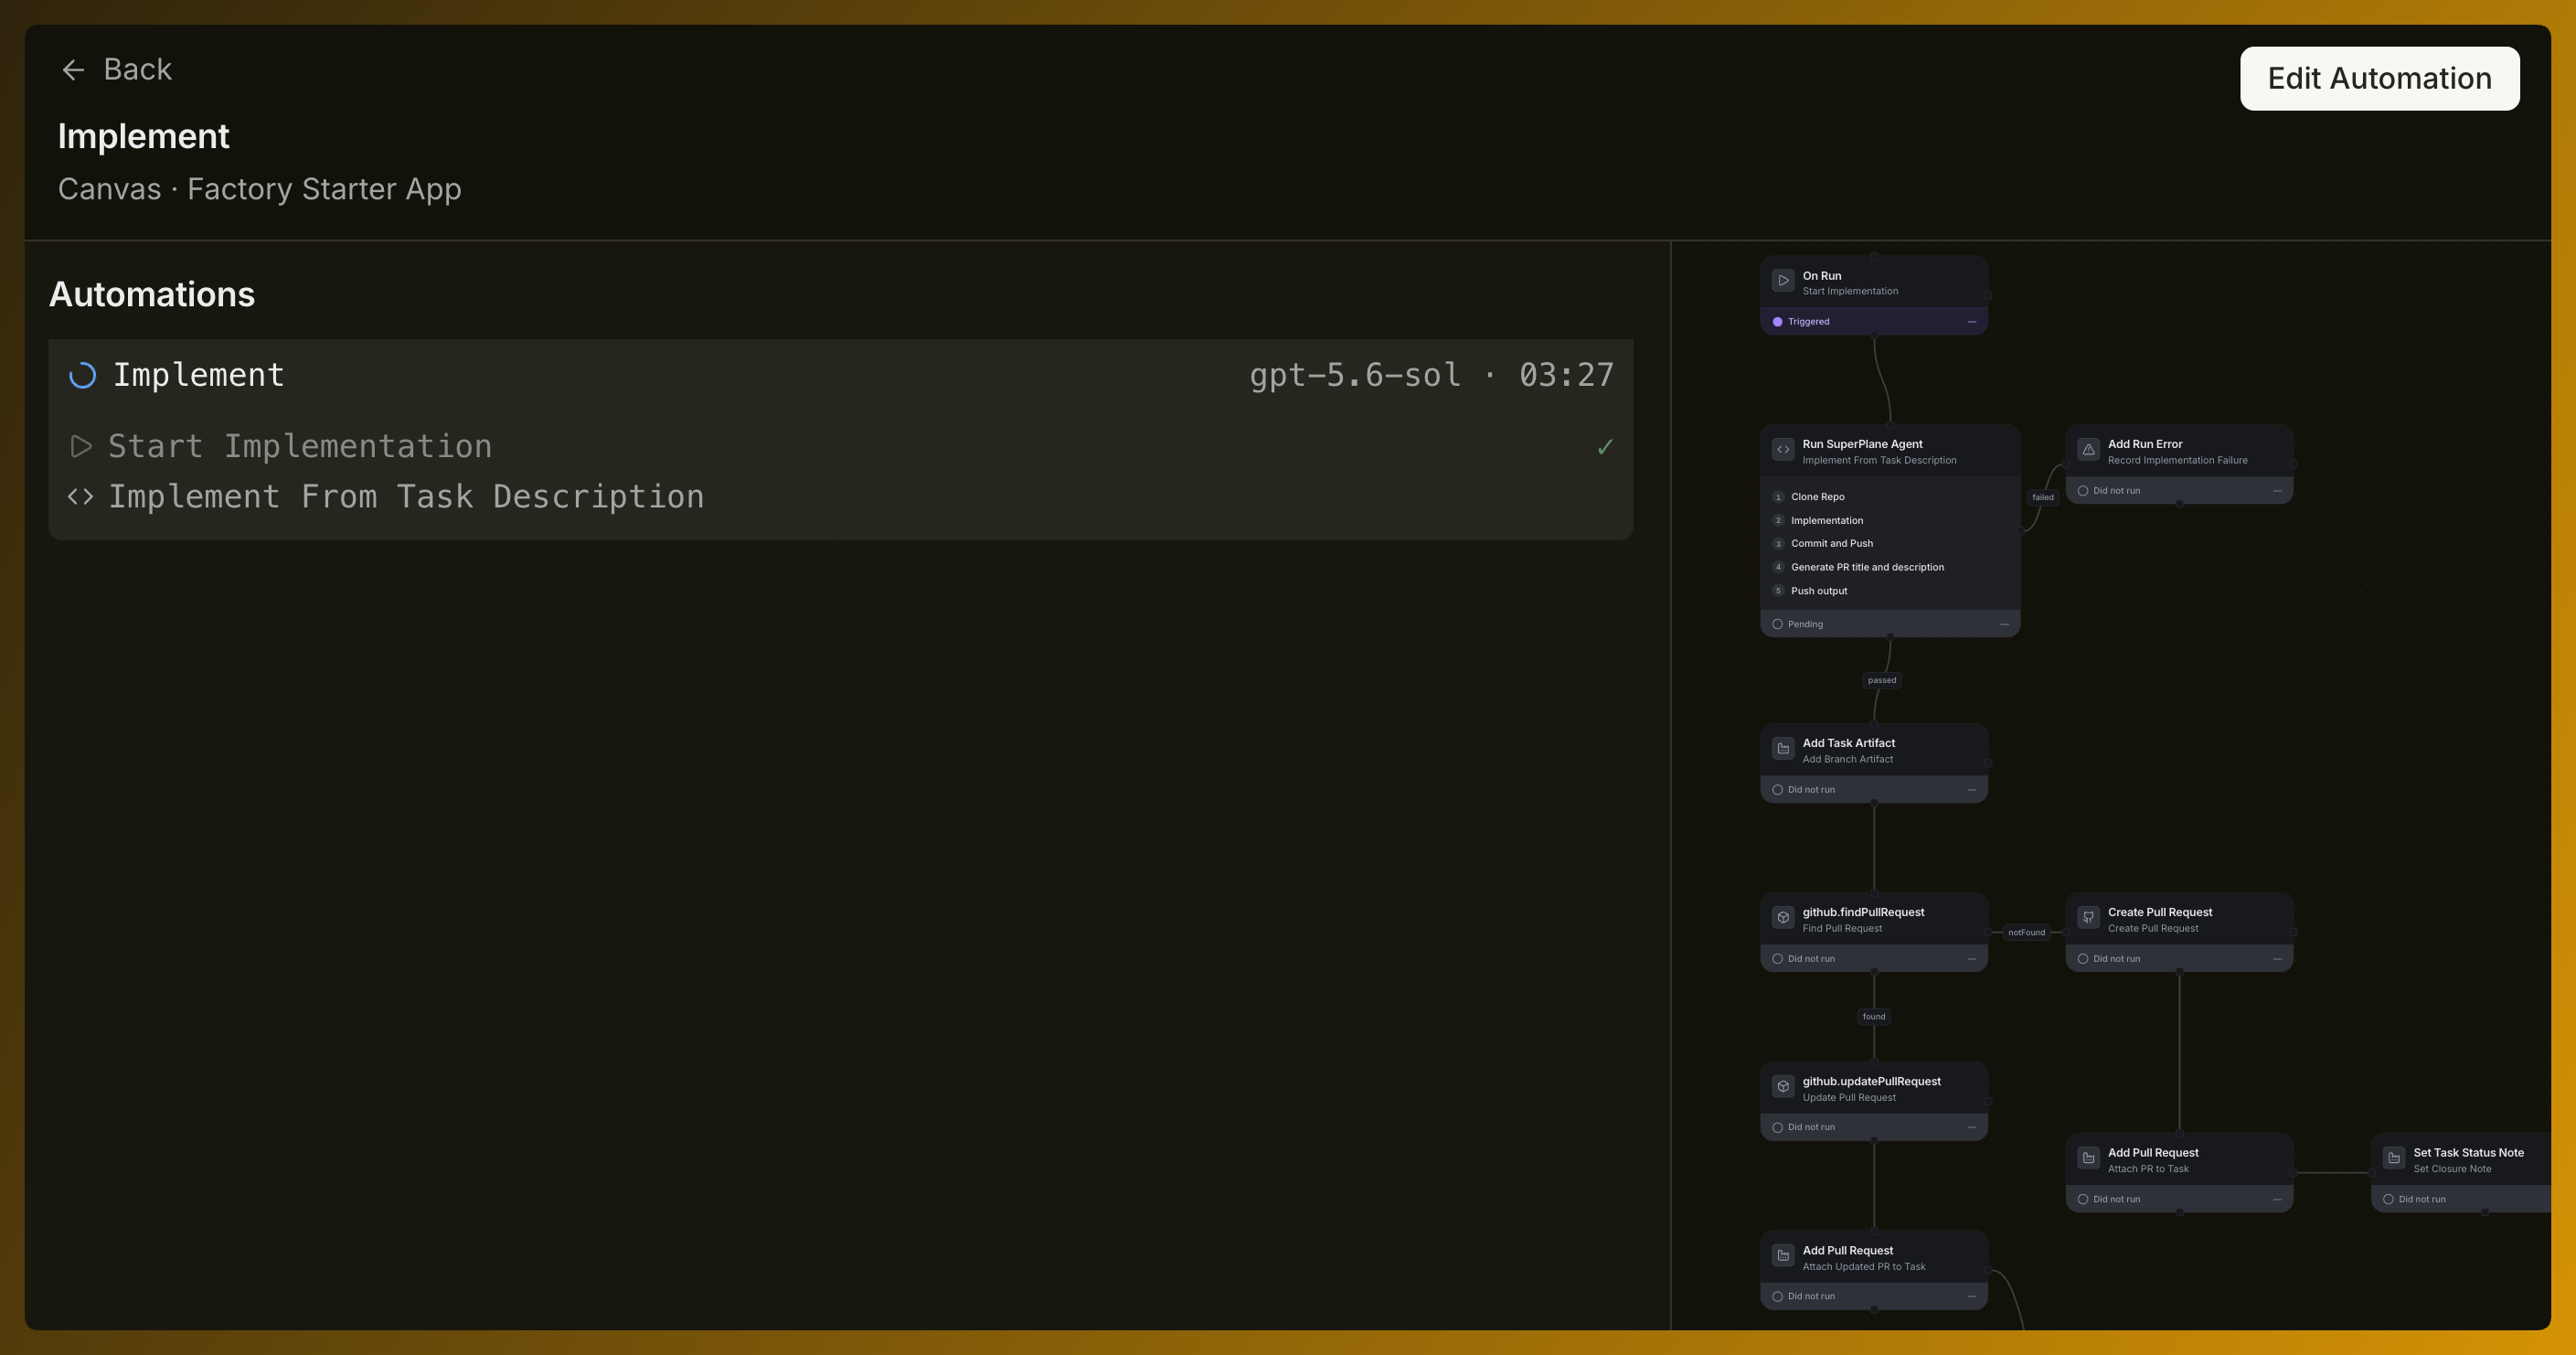
The model setting controls which model performs the work. The automation steps define what the agent does during implementation. Concurrency controls how much work can run at the same time.
6. See what the automation is doing
Section titled “6. See what the automation is doing”Open the Implement automation to follow the active run. The automation defines what happens from the moment the task enters Implement until SuperPlane has a result to verify.
7. Verify the first change
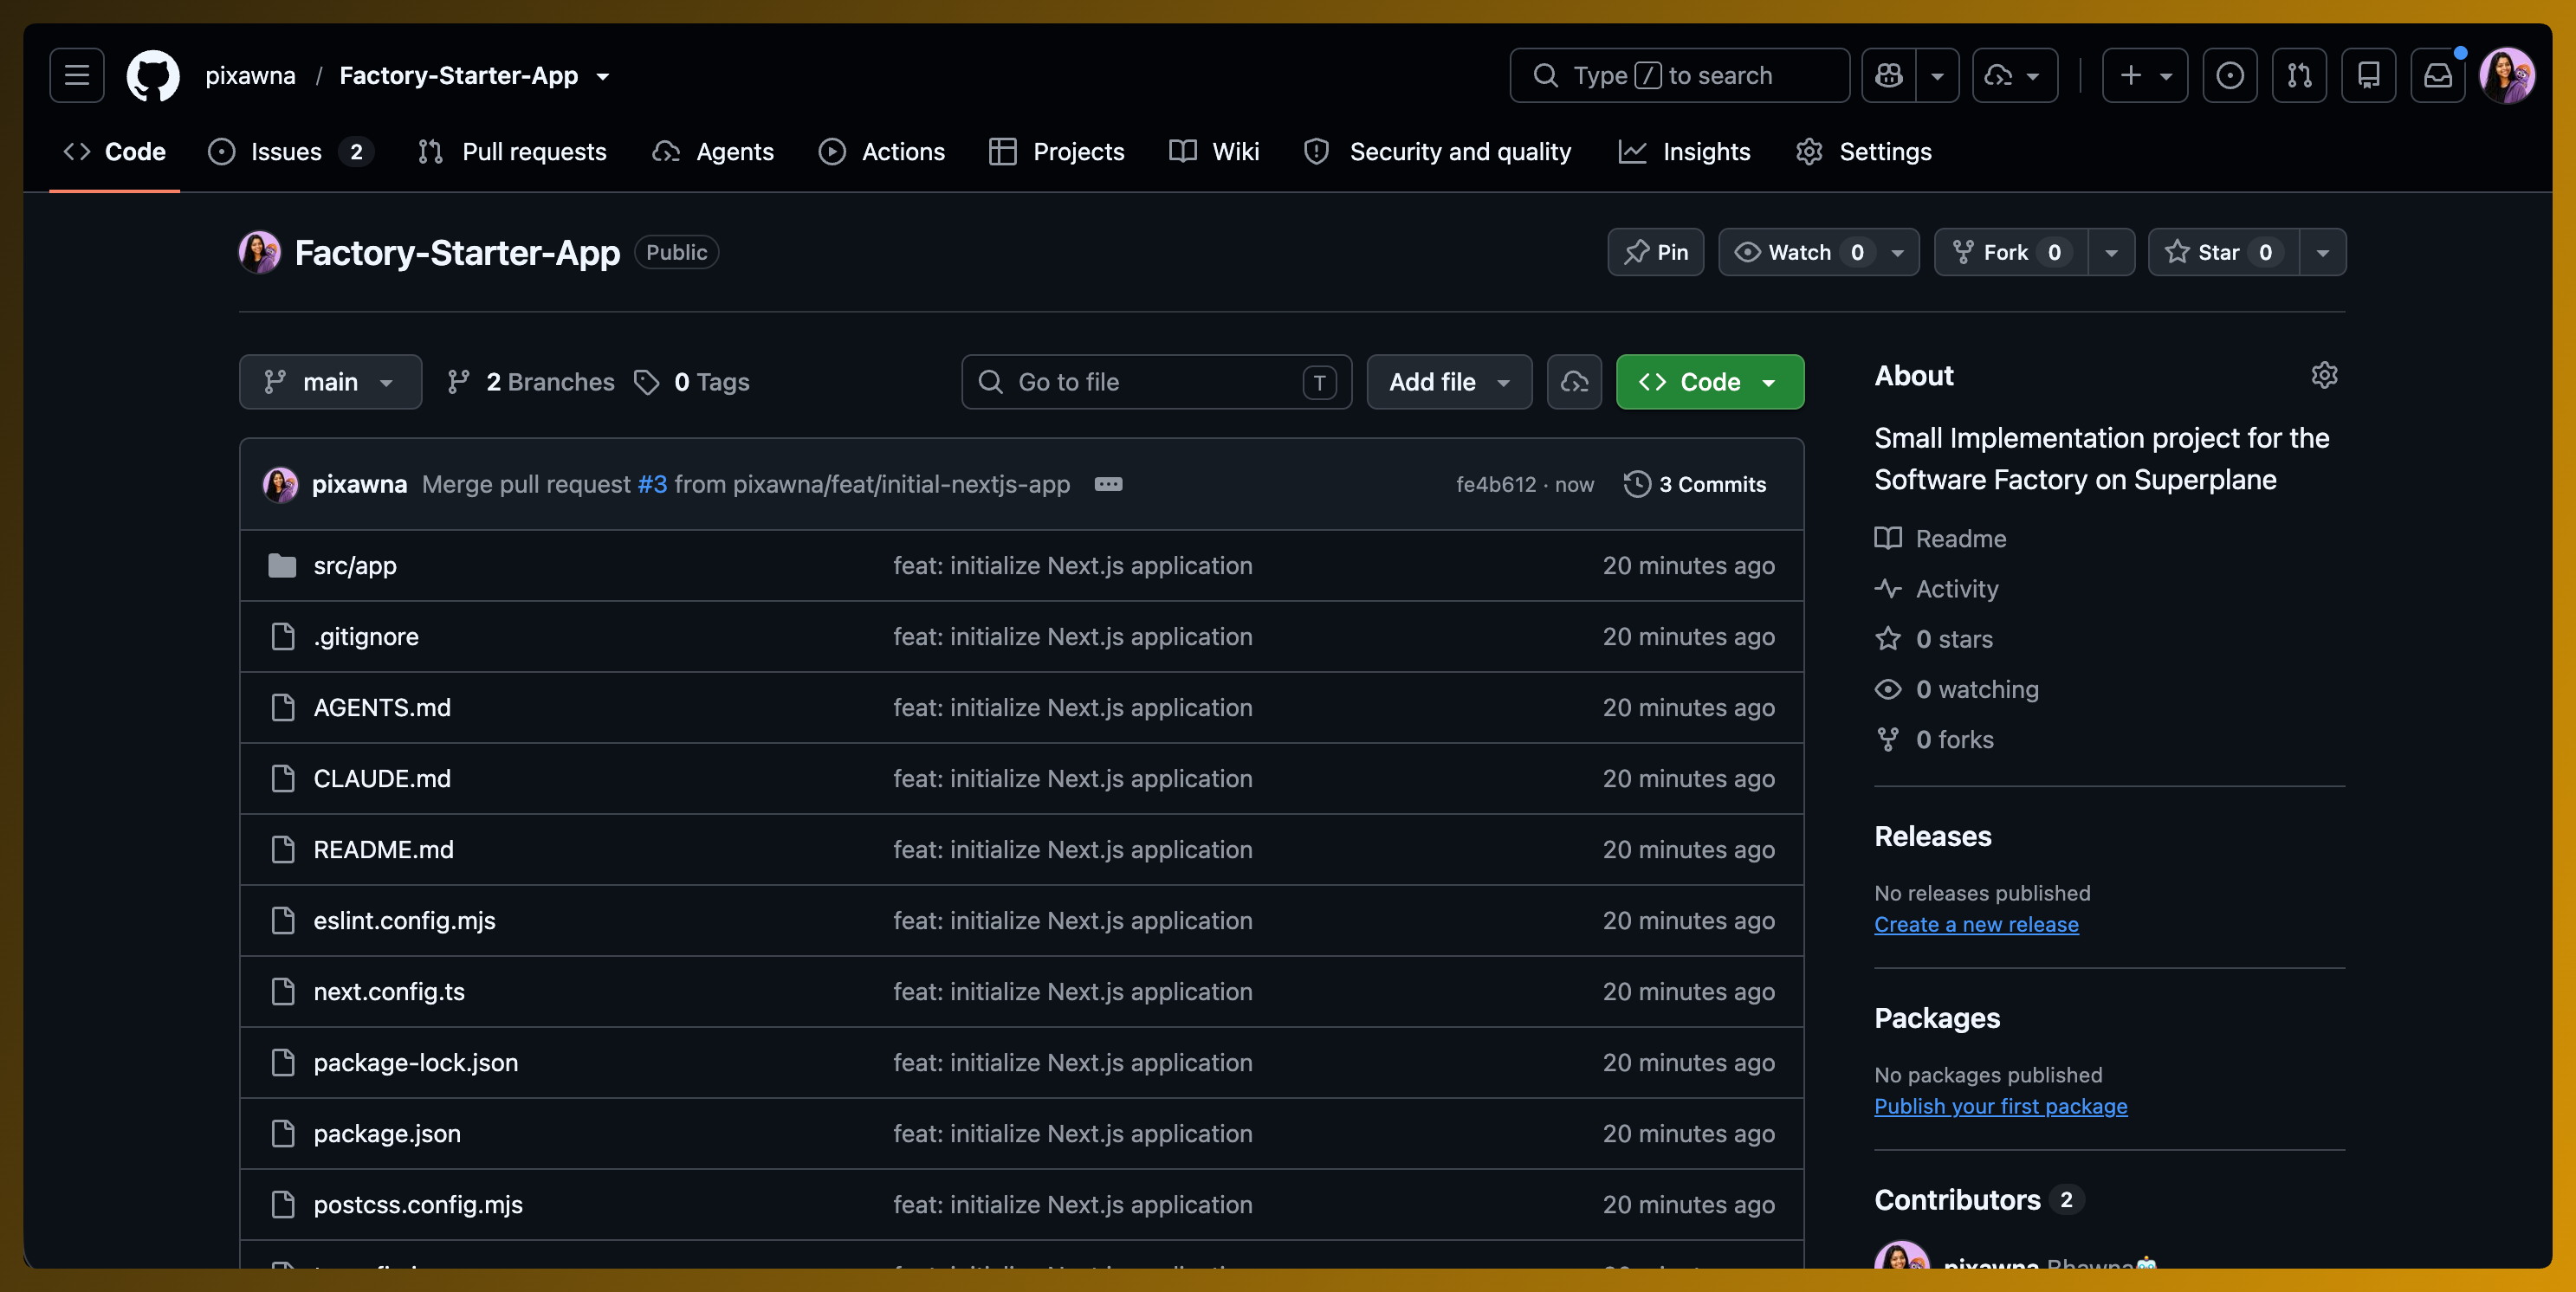
Section titled “7. Verify the first change”When implementation completes, the task moves to Verify. Open the linked pull request and confirm that the application builds, the expected files exist and the default page works.

If a configured check fails, the failure becomes part of the factory work. The result can return to the agent with the context needed for another attempt. When every required check passes, review and merge the pull request.
8. Run the next issue through the factory
Section titled “8. Run the next issue through the factory”Return to Backlog and start Build the Factory Starter App homepage. You do not need to create another factory, rebuild the implementation workflow or recreate verification. The same process handles the next piece of work.
This repeatability is the difference between a factory and a collection of isolated agent sessions.
9. Make the application live
Section titled “9. Make the application live”Once the frontend pull request is verified and merged, connect the repository to Vercel:
- Import the Factory Starter App repository.
- Confirm that Vercel detects the Next.js project.
- Deploy the application.
- Keep automatic deployments enabled for changes to the main branch.
After the initial setup, future merged changes can deploy through the same Git workflow. Read the Vercel deployment documentation if you need help with the deployment settings.

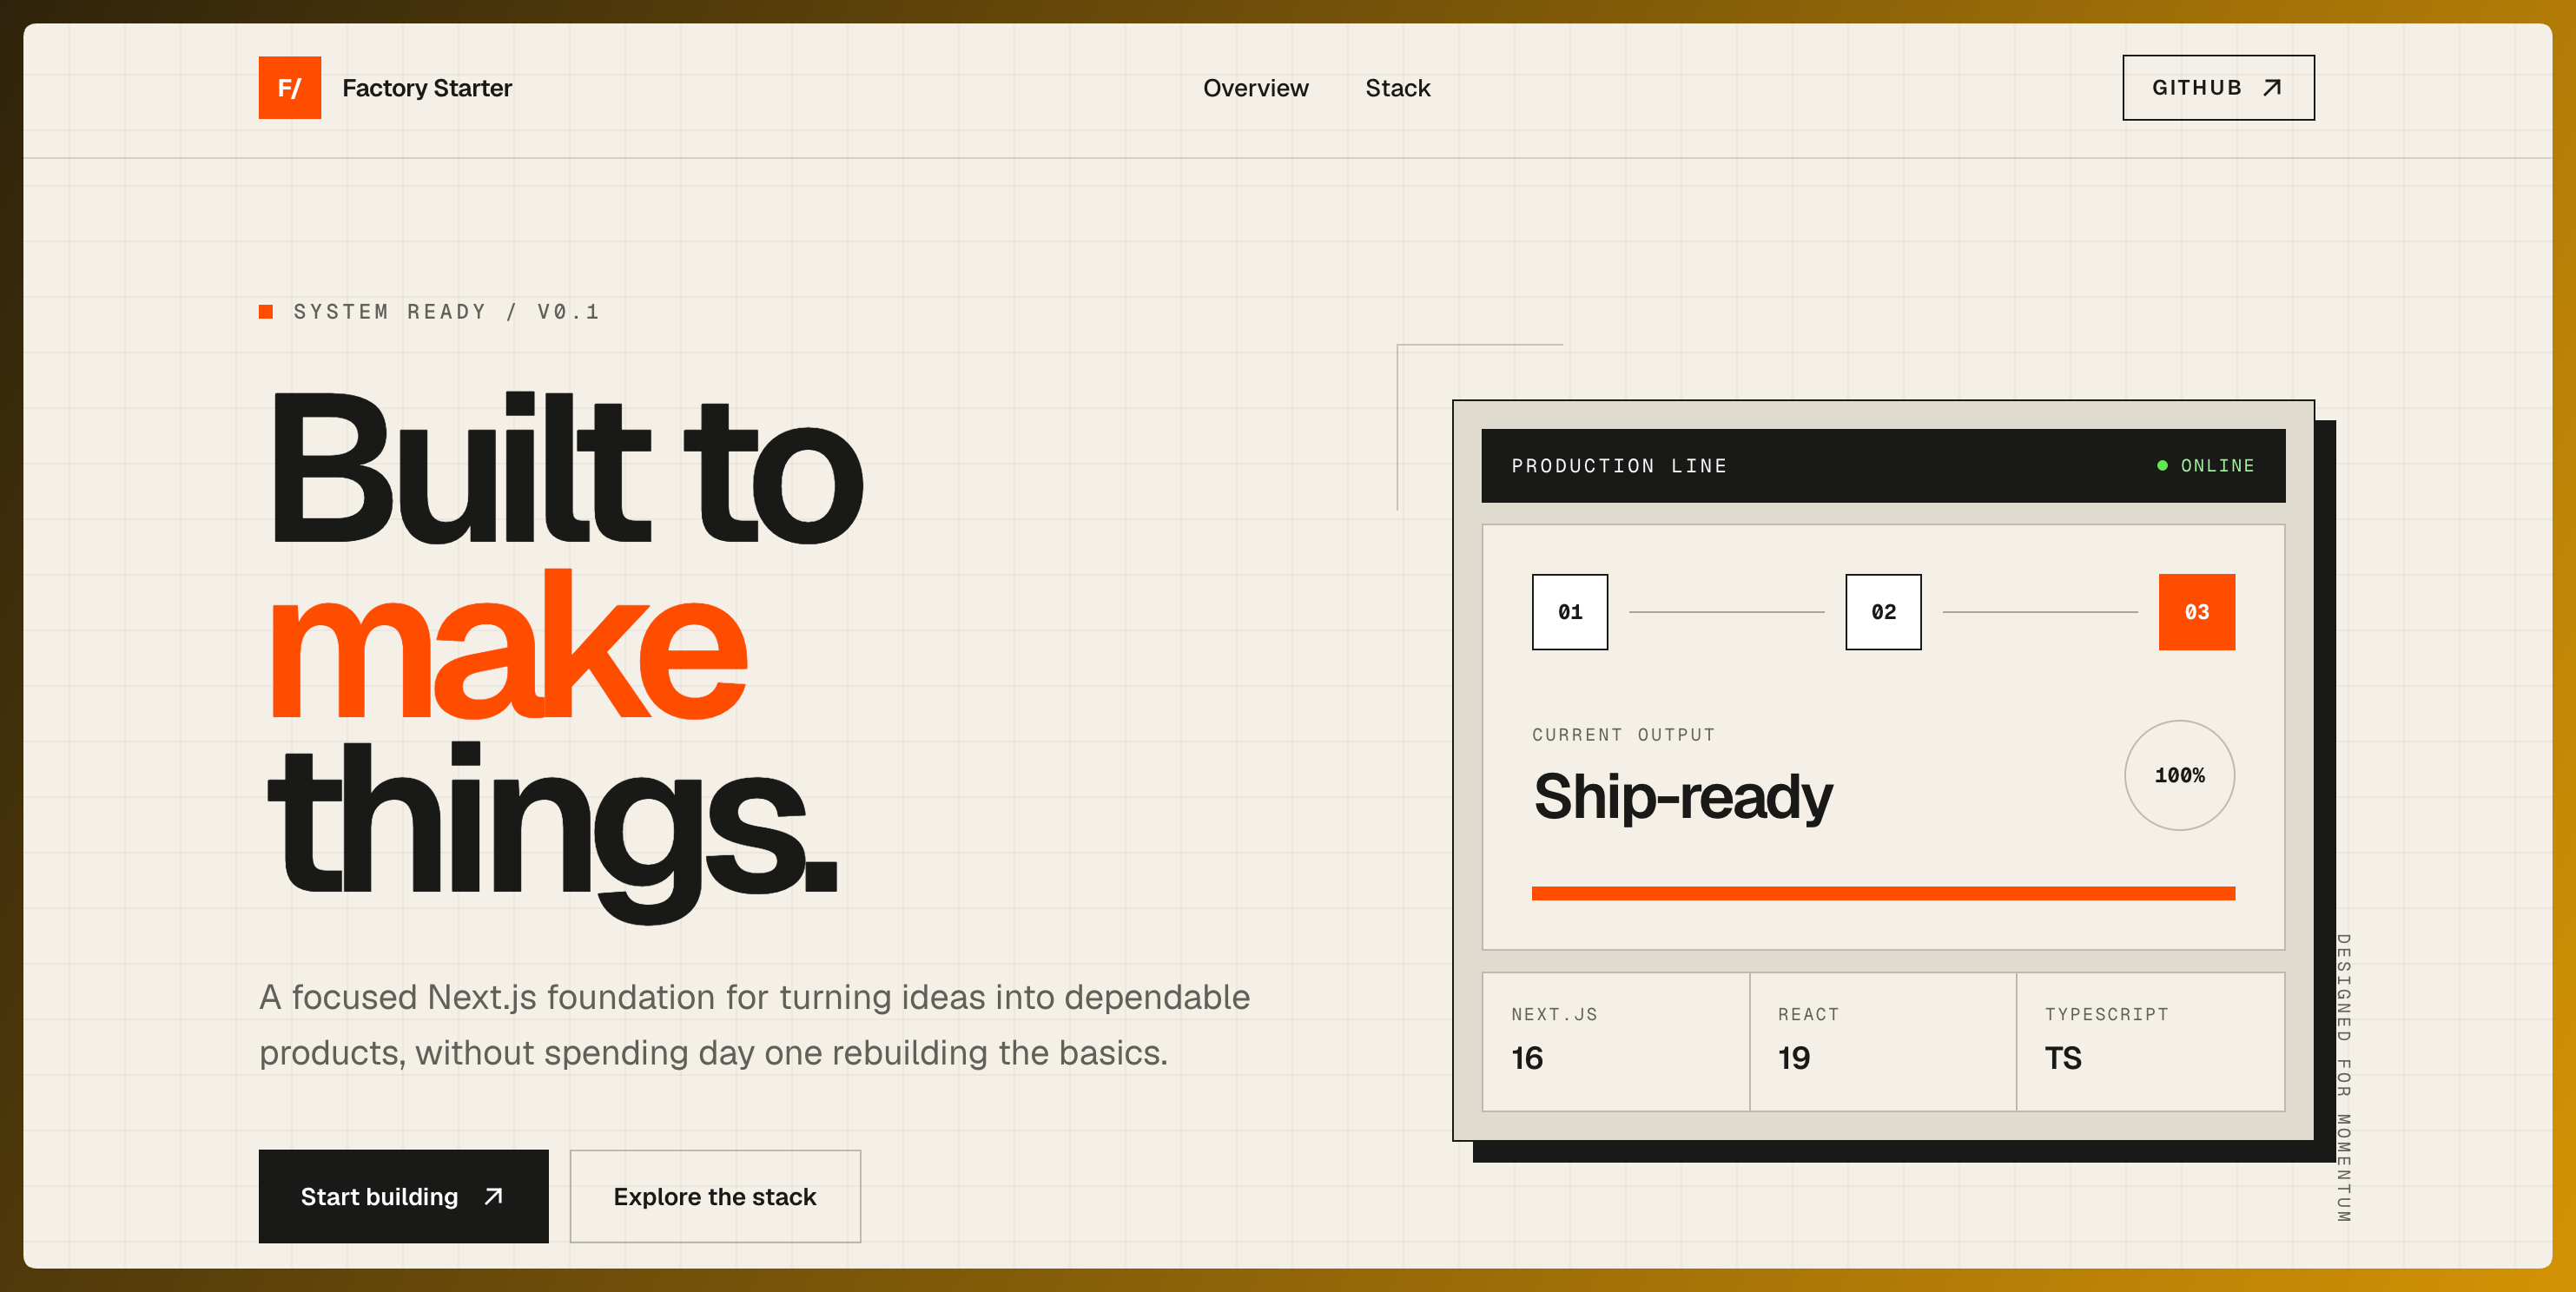
Open the deployed Factory Starter App to see the result.
Your first FactoryThat is your first software factory. It is a repeatable way to turn engineering work into a verified result.